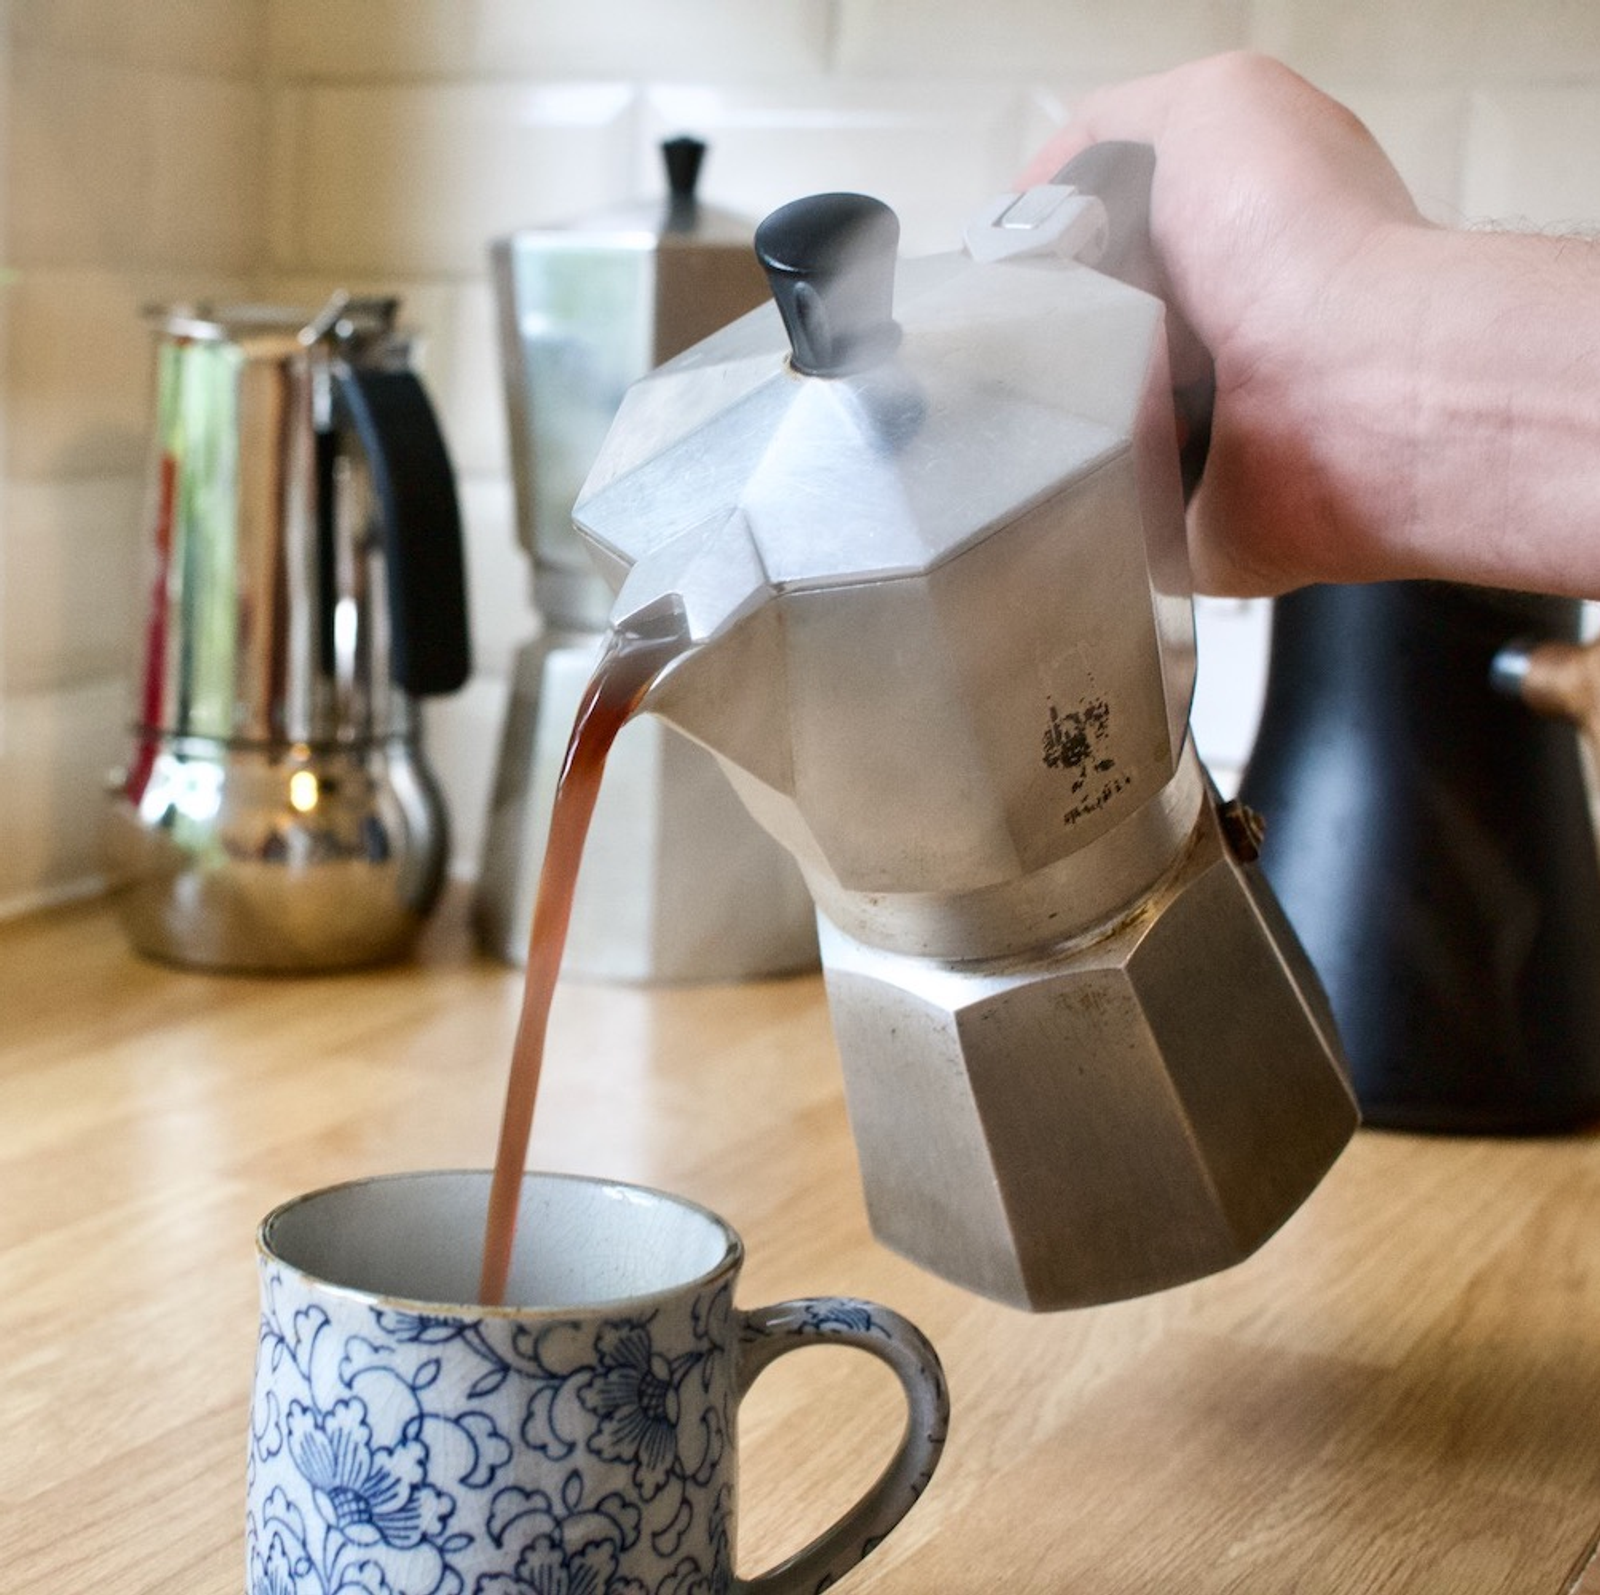
How to brew coffee with a Moka pot step by step. This Moka pot brewing guide explains grind size, heat control, ratios, and common mistakes—clear, practical, and beginner-friendly.
A teacher-style guide to Moka pot brewing—focused on pressure, heat control, and flavor balance, not shortcuts or hype.
The Moka pot sits between espresso and pour over. It doesn’t use pump pressure, yet it produces a bold, concentrated cup that many people mislabel as “espresso.”
When Moka pot coffee tastes bitter or burnt, the problem is rarely the pot—it’s heat and timing, which directly affect extraction behavior.
This guide explains how Moka pots actually work, so you can brew consistently and adjust with confidence.
For those who enjoy bold coffee but want less intensity, an Americano opens up espresso flavor with hot water instead of pressure.
In This Guide
What Is a Moka Pot?
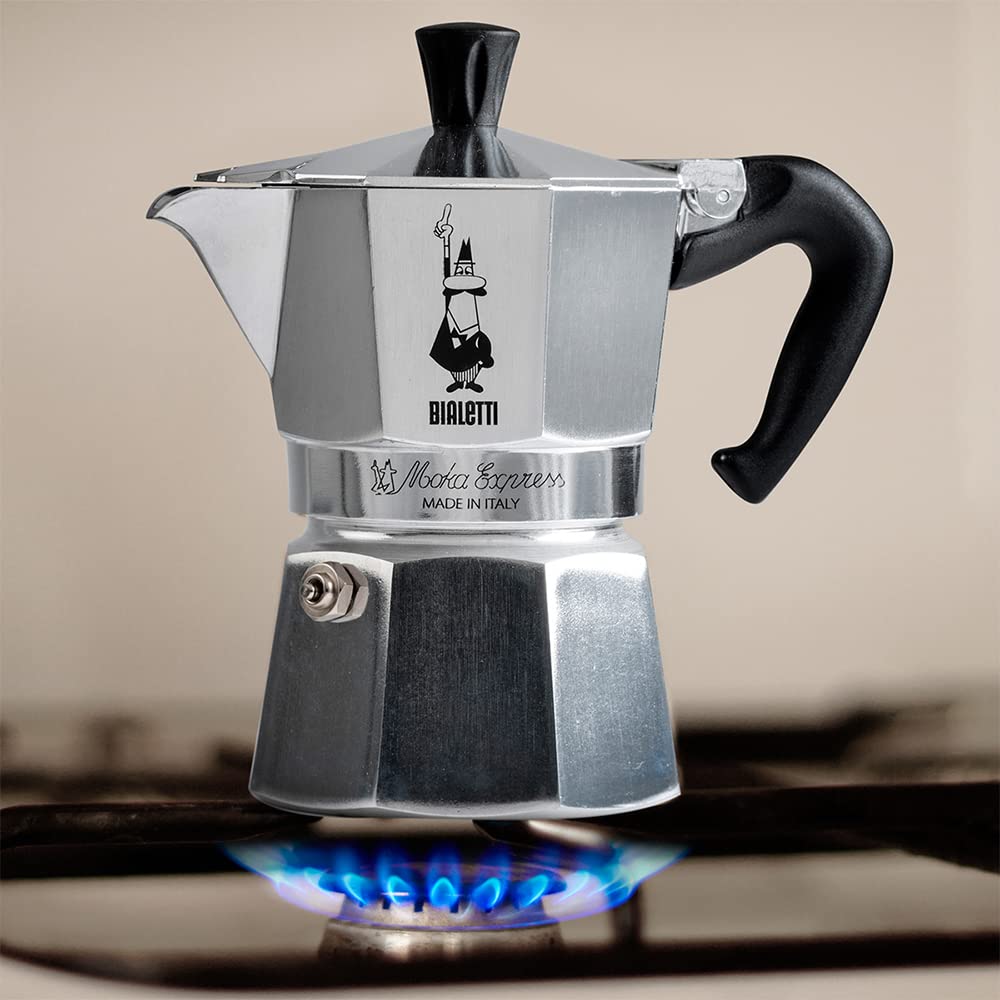
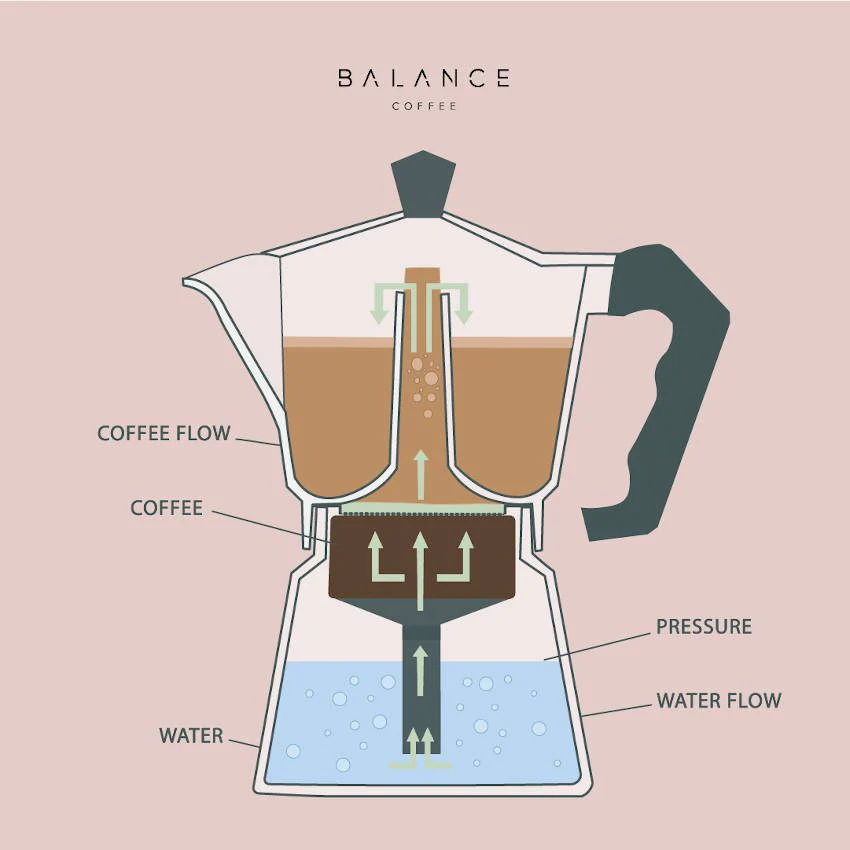
A Moka pot is a stovetop brewer that uses steam pressure to push hot water through coffee grounds.
Key features:
- Lower chamber (water)
- Middle basket (coffee)
- Upper chamber (finished coffee)
👉 Principle: The Moka pot is pressure-assisted, not pressure-driven like espresso. Because steam pressure builds gradually, extraction in a Moka pot is highly sensitive to heat and timing. If you want a deeper explanation of how timing shapes flavor, see our guide on Coffee Extraction Explained.
What You Need (Function Over Brand)
Essential Tools
- Moka pot (2–6 cup size)
- Fresh coffee beans — pre-ground coffee loses aroma quickly and can affect pressure flow (learn what changes in Pre-Ground vs Fresh Ground Coffee)
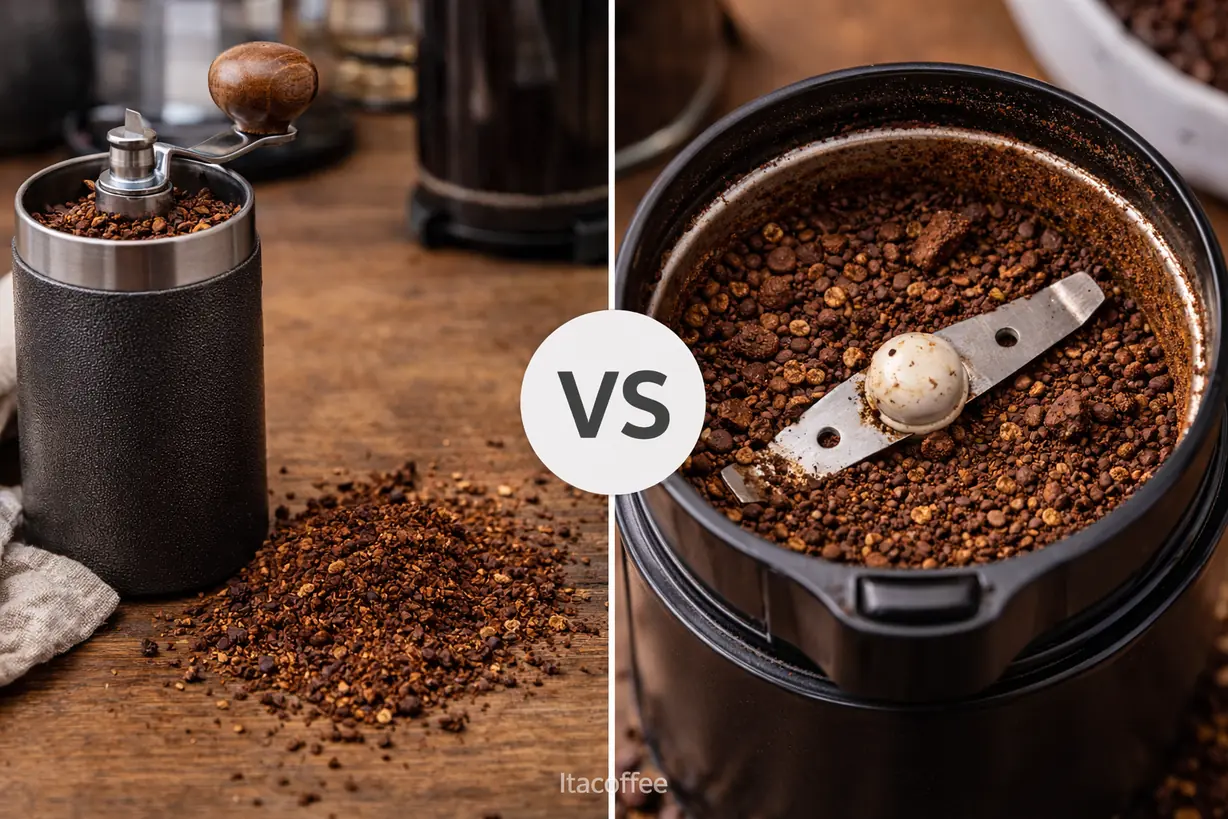
- Grinder (medium-fine capable). Consistency matters more than speed—see Burr vs Blade Coffee Grinders and Manual vs Electric Grinder for guidance.
- Heat source
- Scale (recommended)
👉 Principle: A consistent grind and gentle heat matter more than the pot material.
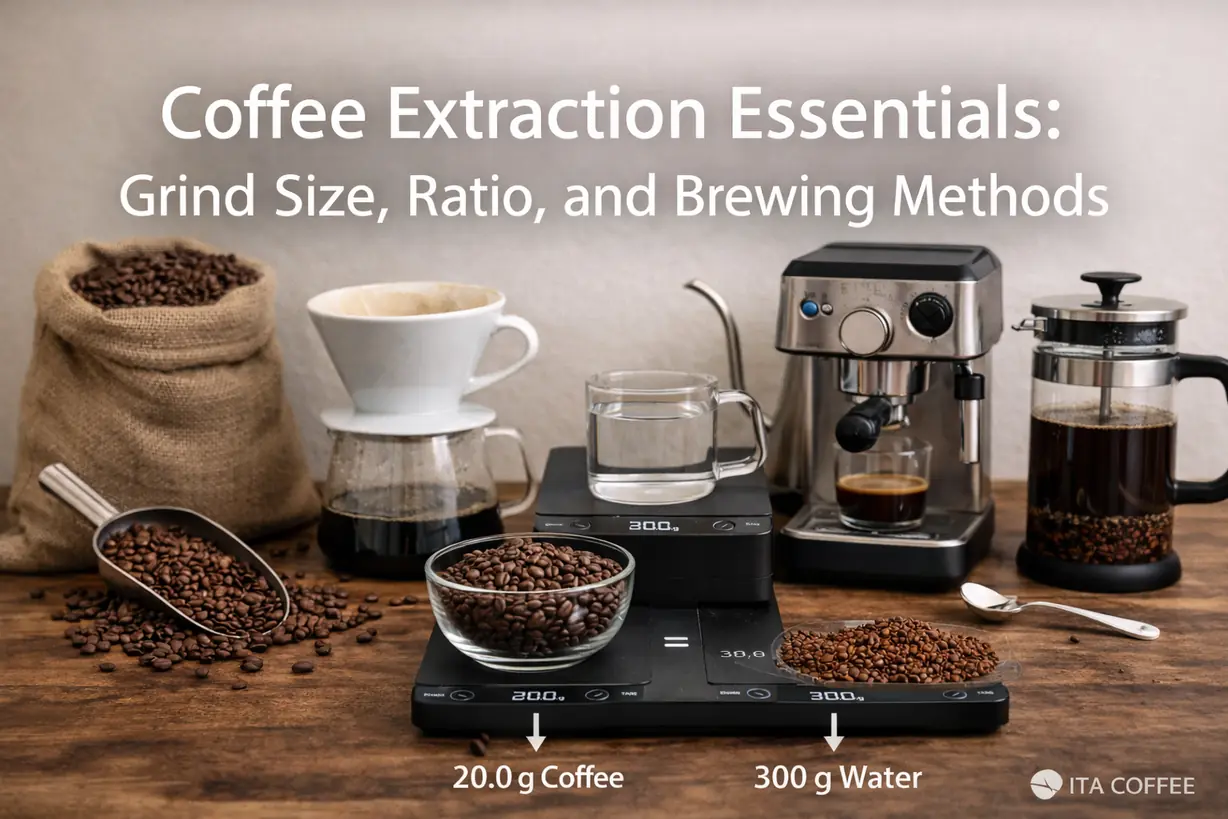
Core Brewing Parameters (Your Reference)
Every brewing method is governed by the same core variables: grind size, coffee-to-water ratio, and extraction time. Moka pots apply these variables under heat and steam pressure, which makes control more sensitive. For a clear breakdown of these fundamentals, see Coffee Brewing Basics: Grind Size, Ratio, and Time. You can also explore how different designs change flavor in How Brewing Methods Affect Coffee Flavor.
Coffee-to-Water Ratio
Moka pots are volume-based, but for control:
- Fill water to the safety valve
- Fill basket fully with coffee (do not tamp)
Typical strength lands between espresso and filter coffee. Using more coffee doesn’t automatically mean stronger flavor—extraction balance matters more than dose (see Is More Coffee Always Stronger?).
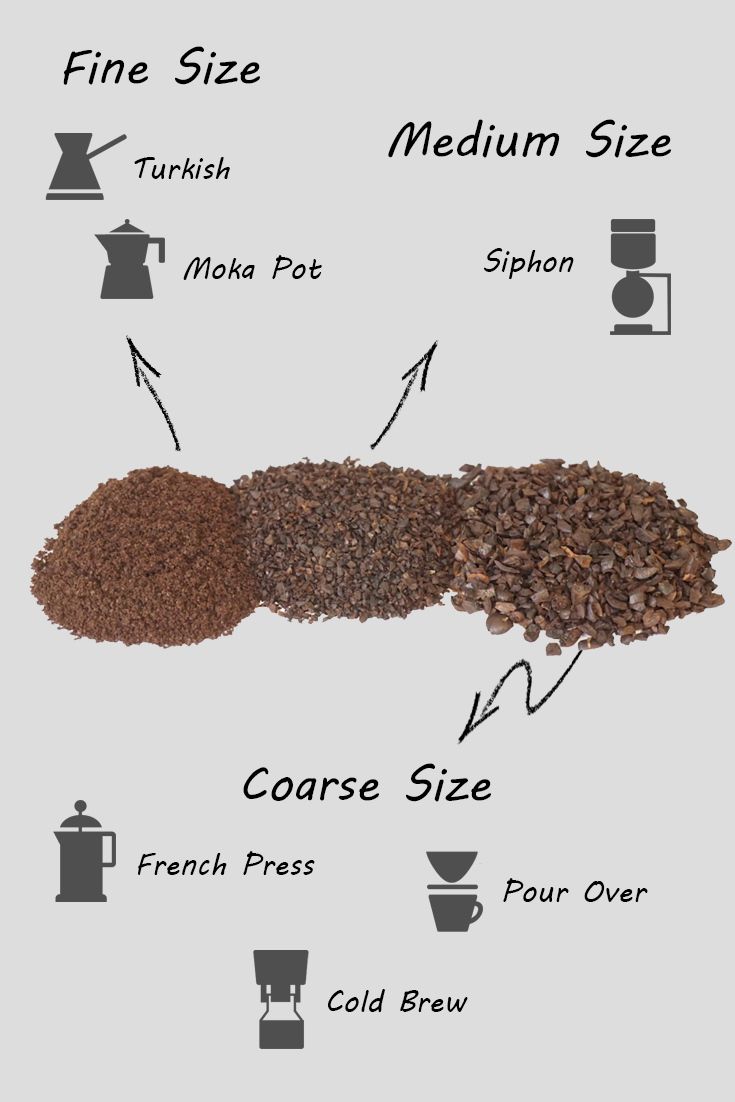
Grind Size
- Medium-fine (between espresso and pour over)
Too fine → bitter, choking flow
Too coarse → weak, hollow cup
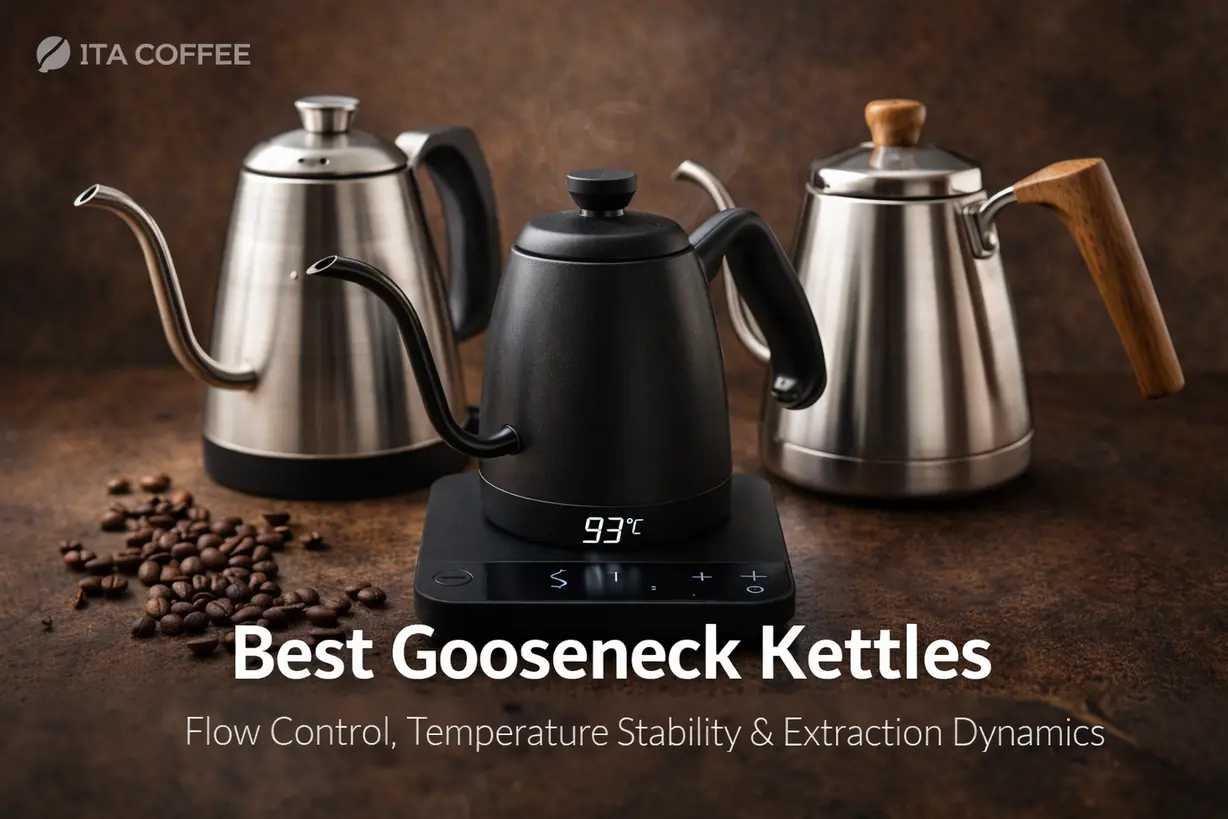
Water Temperature (Important)
- Preheated water (70–80°C / 160–175°F)
This reduces time on heat and prevents over-extraction, a common cause of bitterness or sourness (learn more in Why Your Coffee Tastes Bitter or Sour).
Step-by-Step: How to Brew with a Moka Pot
Step 1: Add Water
- Heat water separately
- Pour into the lower chamber up to the valve
- Do not exceed the valve
Preheating shortens brew time and improves clarity.
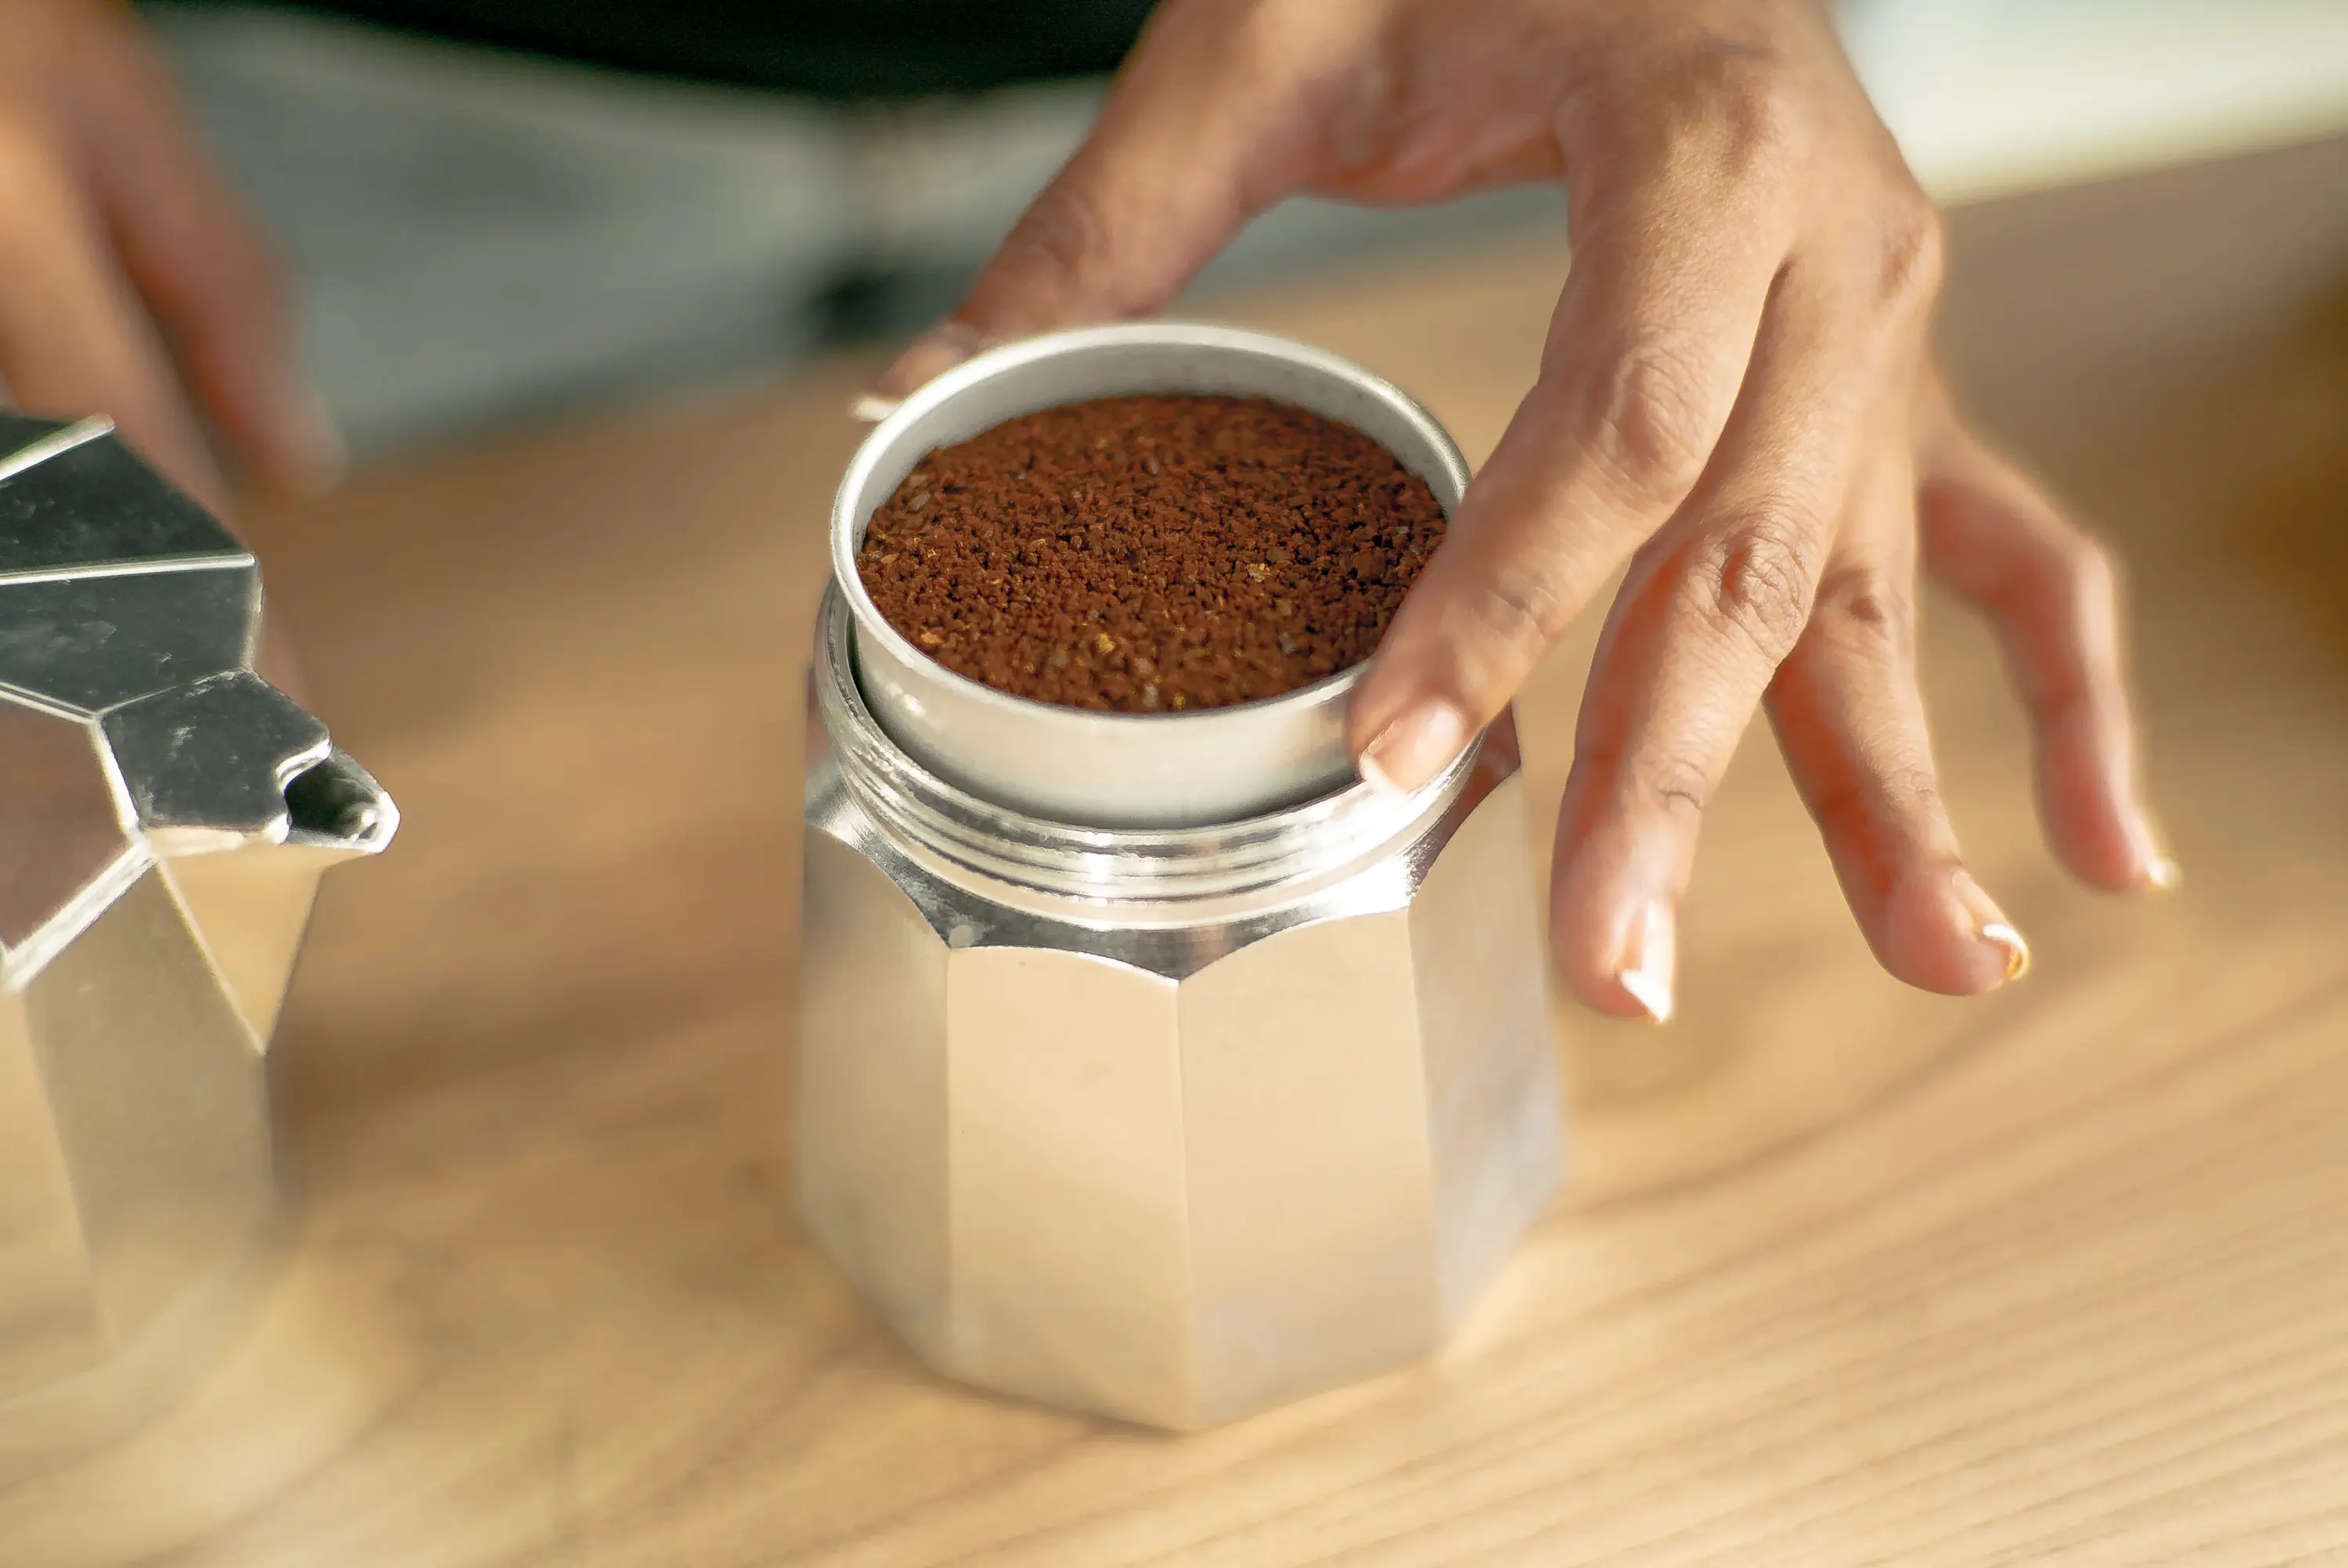
Step 2: Add Coffee (No Tamping)
- Fill the basket completely
- Level gently with your finger
- Do not tamp
A loose bed allows smooth flow.
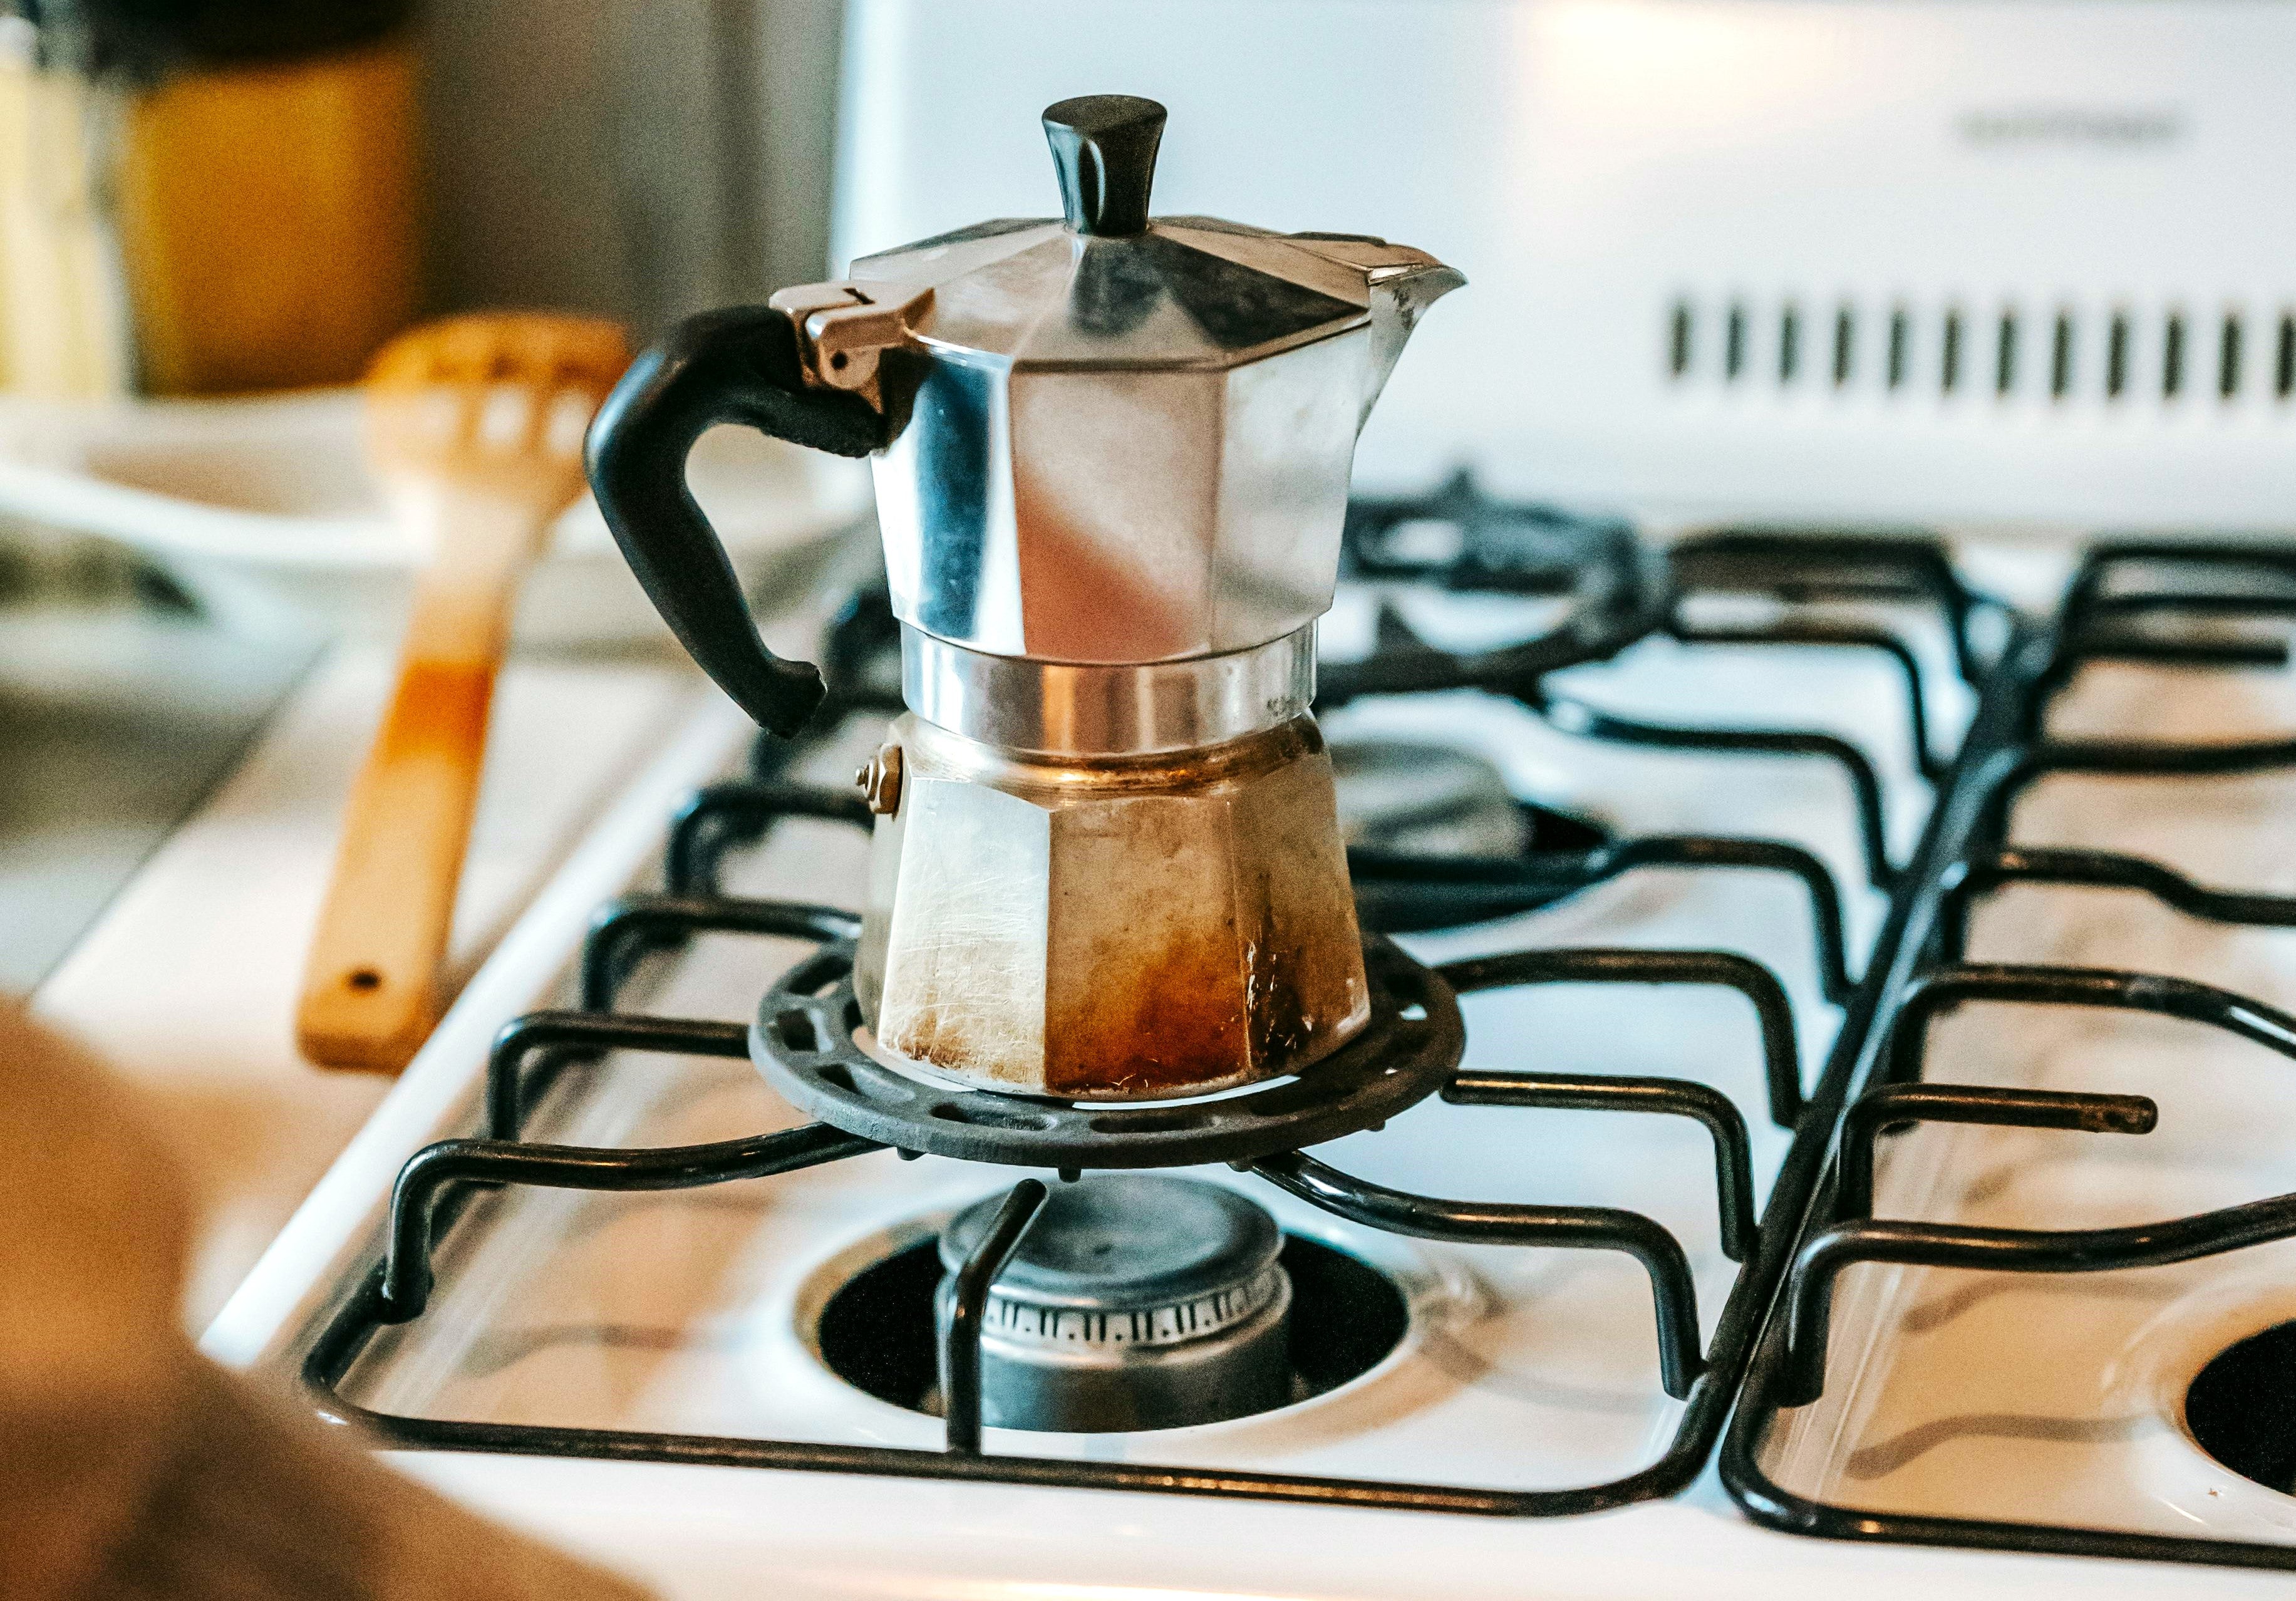
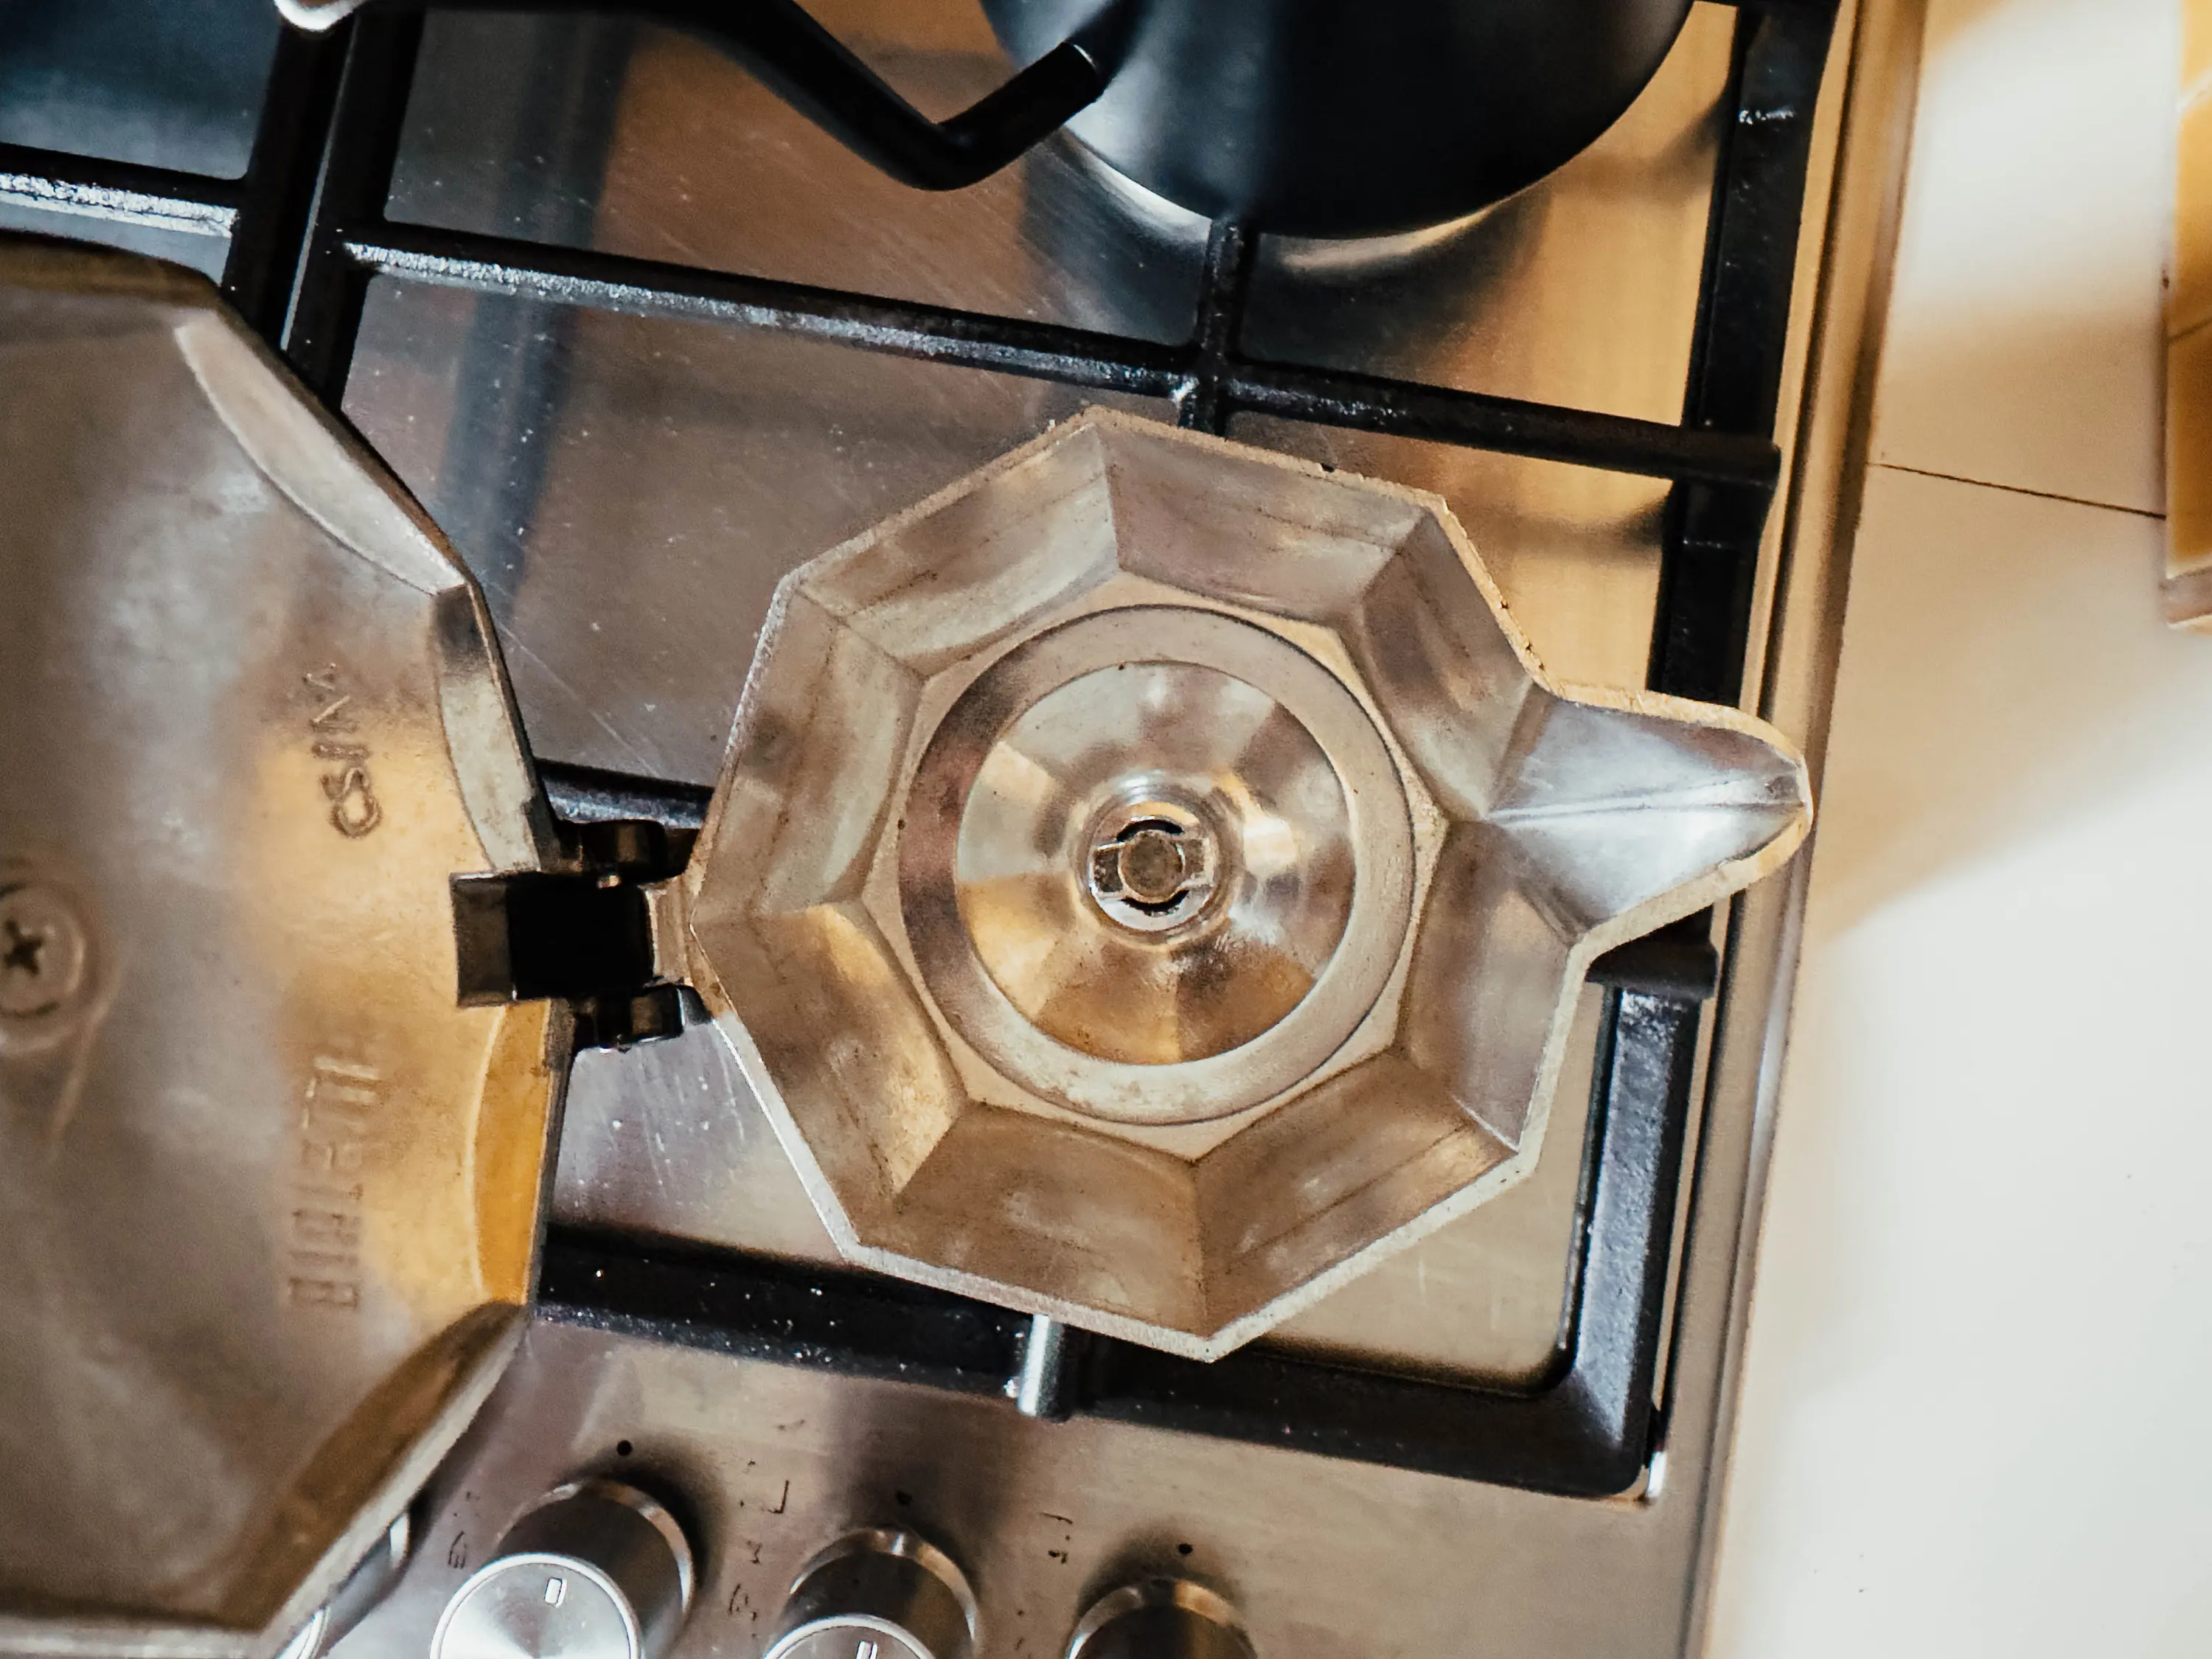
Step 3: Assemble and Heat
- Assemble carefully (use a towel—hot base)
- Place on low to medium heat
- Leave lid open
Watch and listen—this is an active brew.
Step 4: Control the Extraction
- Coffee should flow slowly and steadily
- When it turns pale or starts sputtering, remove from heat
- Cool the base under tap water to stop extraction
👉 The goal is flow, not force.
Common Moka Pot Problems (And Fixes)
If your Moka pot coffee tastes bitter, burnt, or harsh, the issue is usually extraction—not the pot itself. Before adjusting heat or grind size, it helps to understand why coffee tastes bitter or sour and what those flavors are actually telling you. Roast level also plays a role—dark roasts extract faster and can become harsh more easily than light roasts (see Dark Roast vs Light Roast).
| Problem | Likely Cause | Fix |
|---|---|---|
| Bitter, burnt | Heat too high | Lower heat, preheat water |
| Weak coffee | Grind too coarse | Grind finer |
| Sputtering | Overheating | Remove earlier |
| Metallic taste | New pot | Rinse and season |
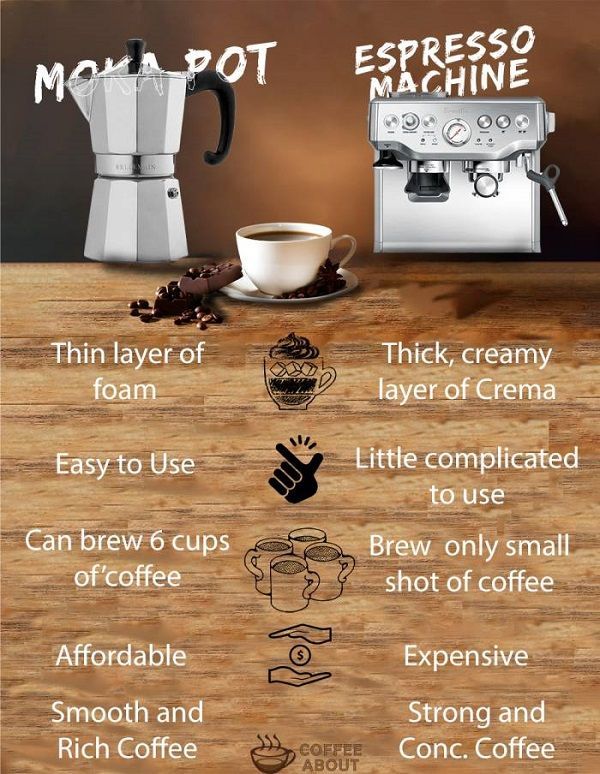
Moka Pot vs Other Brewing Methods
| Method | Pressure | Strength | Style |
|---|---|---|---|
| Espresso | High (pump) | Very strong | Intense |
| Moka Pot | Steam | Strong | Bold, heavy |
| V60 | None | Medium | Clean, clear |
The Moka pot trades precision for body and richness.
If you prefer a cleaner, lighter cup with more clarity, V60 pour over brewing offers a very different approach to extraction.
Want More Consistent Moka Pot Coffee?
Consistency comes from:
-
Controlled heat
-
Correct grind size
-
Stopping extraction early
If you’re comparing grinders or stovetop setups, our Coffee Tools & Reviews section explains how different types of tools affect Moka pot results—without pushing brands.
Final Thoughts from itacoffee
The Moka pot rewards attention, not force.
Lower heat, better timing, and restraint make all the difference.
At itacoffee, we believe understanding brewing mechanics matters more than upgrading gear. Learn the flow once, and your Moka pot becomes reliable—not unpredictable.
— itacoffee | Brewing Guides for thoughtful coffee makers
This article was written and optimized with the assistance of AI, then reviewed and refined to maintain a clear, educational, non-commercial tone.
Recommended Next Guides
-
-
Want more flexibility and smoother control? → AeroPress Brewing Guide
-
Prefer a cleaner, lighter cup? → V60 Pour Over Brewing Guide
-
Looking for a black coffee style? → Americano Brewing Guide
-