How to brew coffee with an AeroPress using a clear, step-by-step method. This AeroPress brewing guide explains grind size, ratios, steep time, and common mistakes—educational and beginner-friendly.
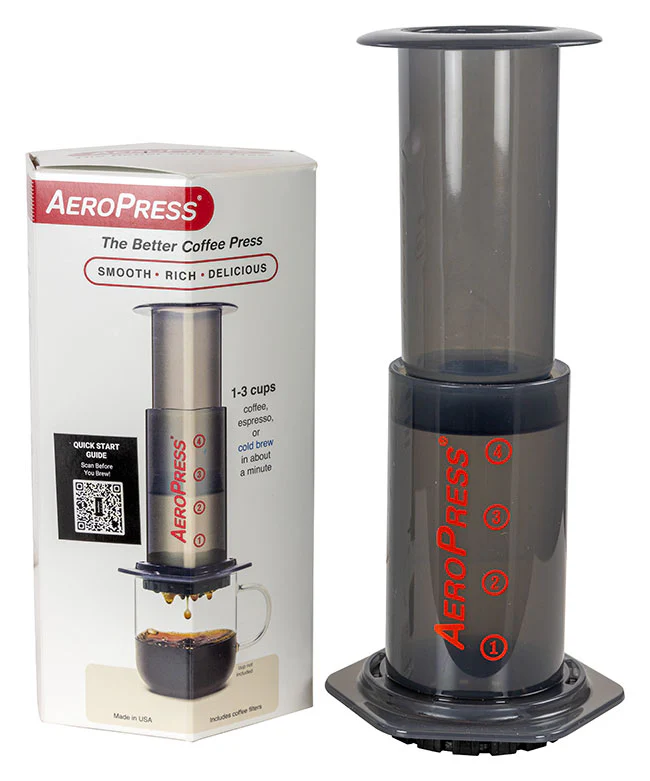
The AeroPress is one of the most flexible manual coffee brewers available.
It can produce anything from a clean, tea-like cup to a dense, espresso-style brew—but only if you understand why each variable matters.
How different brewing structures shape flavor is explored more deeply in How Brewing Methods Affect Coffee Flavor.
This guide explains AeroPress brewing as a controlled process, so you can adjust with intention instead of guessing.
For a bolder, more concentrated stovetop style, the Moka pot uses steam pressure instead of immersion.
In This Guide
What Is the AeroPress?
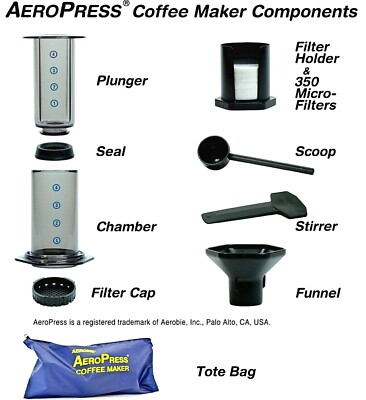
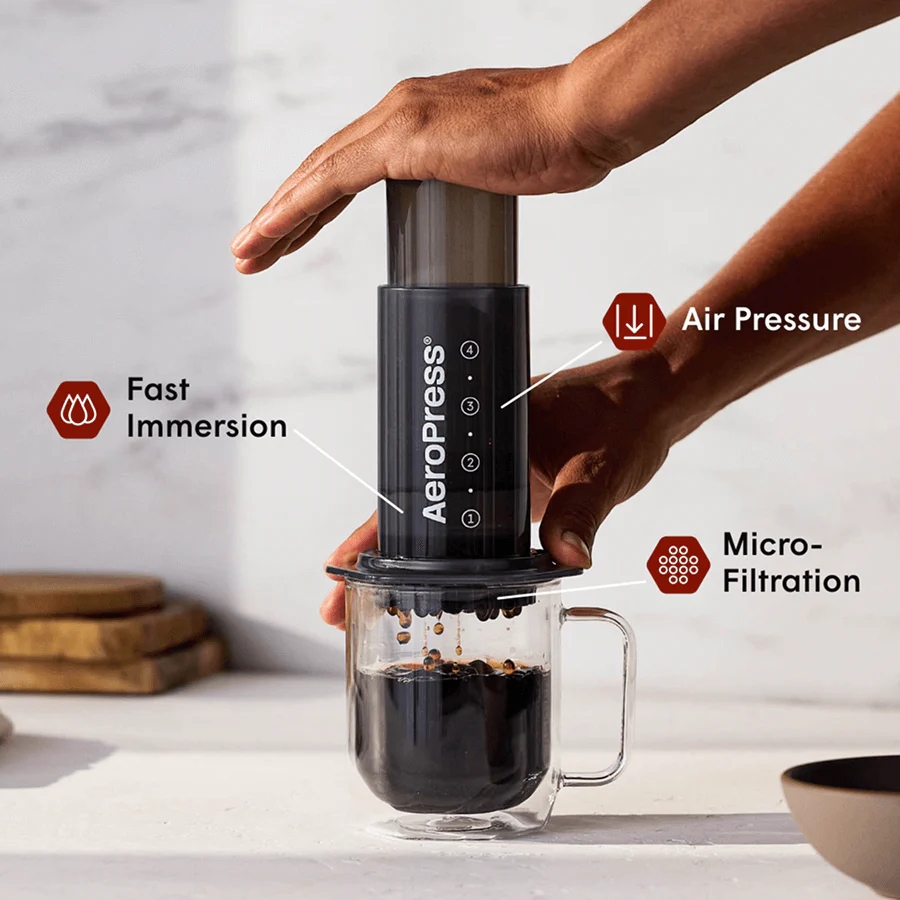
The AeroPress is a manual brewer that uses:
- Immersion (coffee and water steep together)
- Gentle pressure (manual plunge)
- Paper or metal filtration
👉 Principle: AeroPress sits between pour over and espresso—immersion first, pressure second.
If you’re new to how immersion differs from percolation, our guide on brewing methods and extraction structure breaks this down clearly.
Before getting into ratios and pressure, it helps to understand the basic variables that affect extraction across all brewing methods.
If you’re still refining those fundamentals, this guide on brewing better coffee at home without buying new gear explains them clearly.
What You Need (Function Over Brand)
Essential Tools
- AeroPress
- Paper or metal filter
- Fresh coffee beans
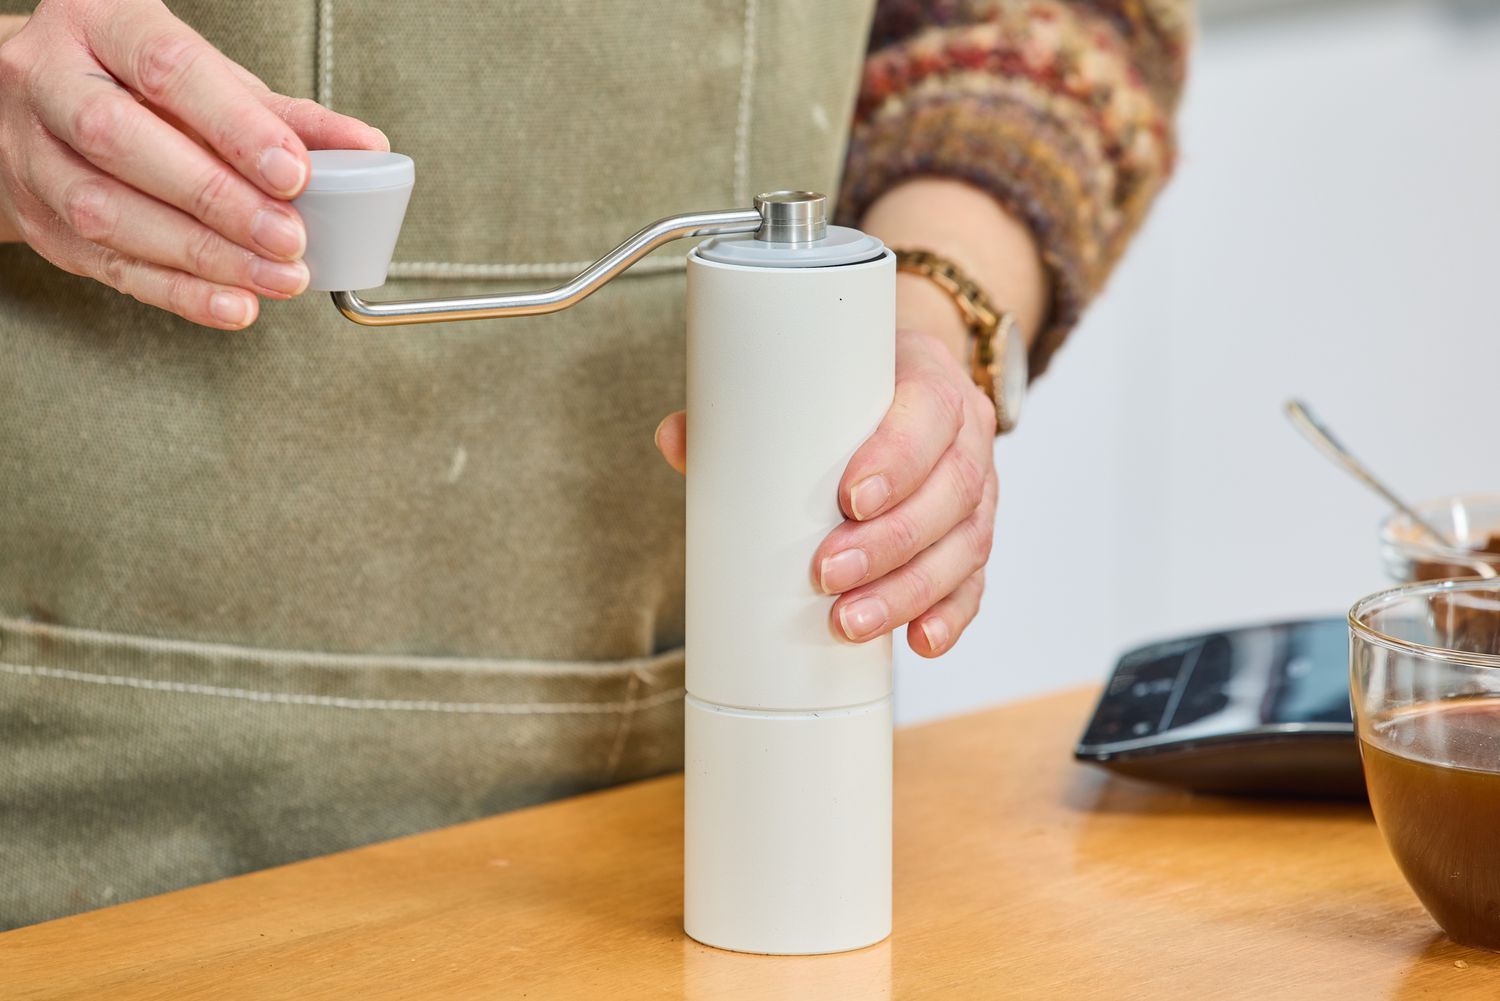
- Grinder
- Kettle
- Scale & timer (recommended)
👉 Principle: With AeroPress, grind size and steep time matter more than pressure.
If you’re choosing a grinder, understanding burr vs blade differences can significantly impact clarity and consistency.
If you’re deciding between portability and convenience, see manual vs electric coffee grinders.
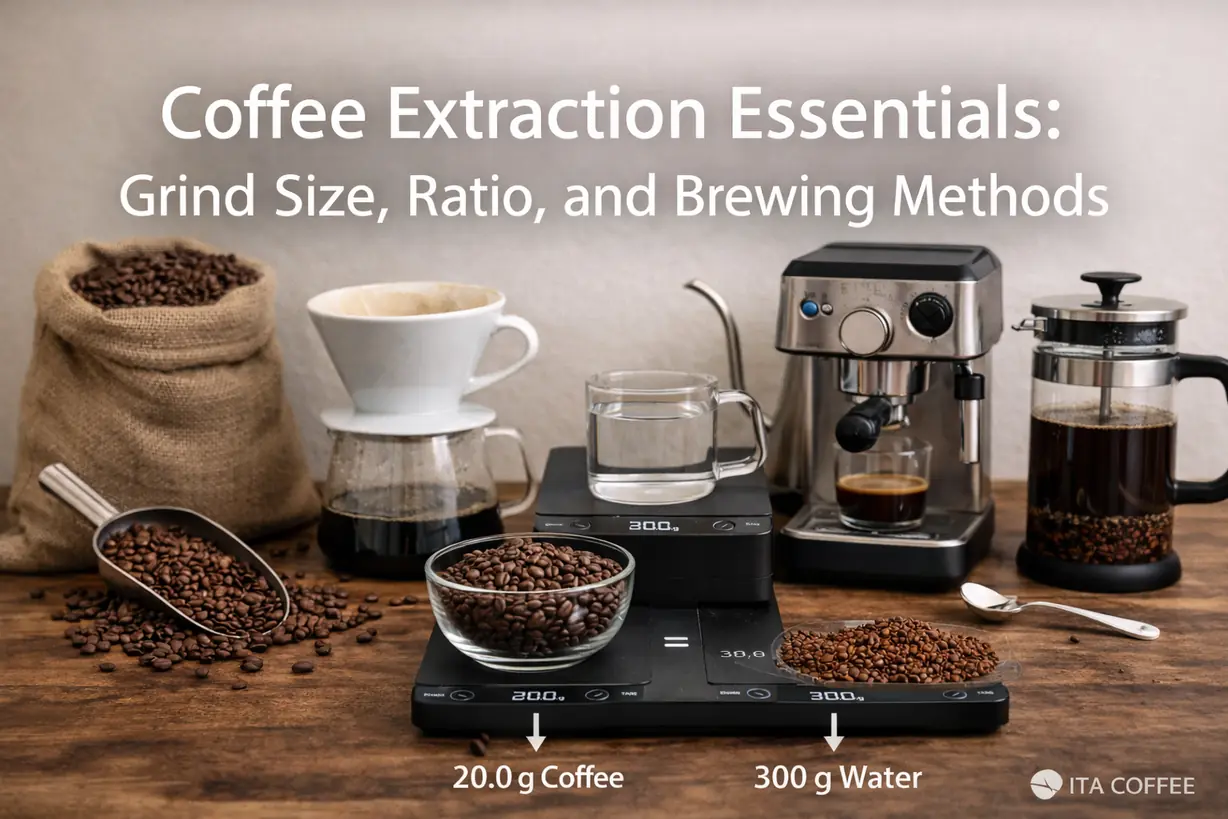
Core Brewing Parameters (Your Baseline)
AeroPress brewing is governed by the same fundamentals as all manual methods: grind size, coffee-to-water ratio, and extraction time.
For a method-independent explanation of how these fundamentals interact, see our guide on Coffee Brewing Basics: Grind Size, Ratio, and Time.
If you want to understand why timing shifts flavor so dramatically, Coffee Extraction Explained connects the science directly to brewing adjustments.
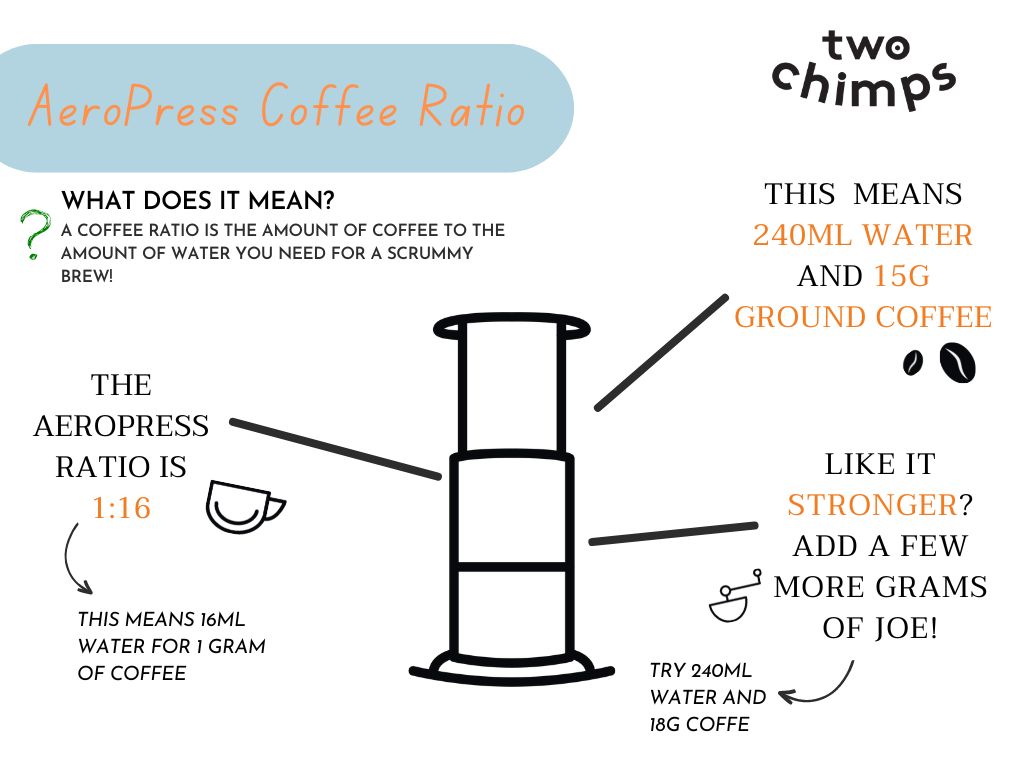
Coffee-to-Water Ratio
A balanced starting point:
- 1:12 to 1:15
Example:
- 18 g coffee
- 220–250 ml water
Roast level also changes how AeroPress behaves—light and dark roasts extract differently.
Learn more in Dark Roast vs Light Roast.
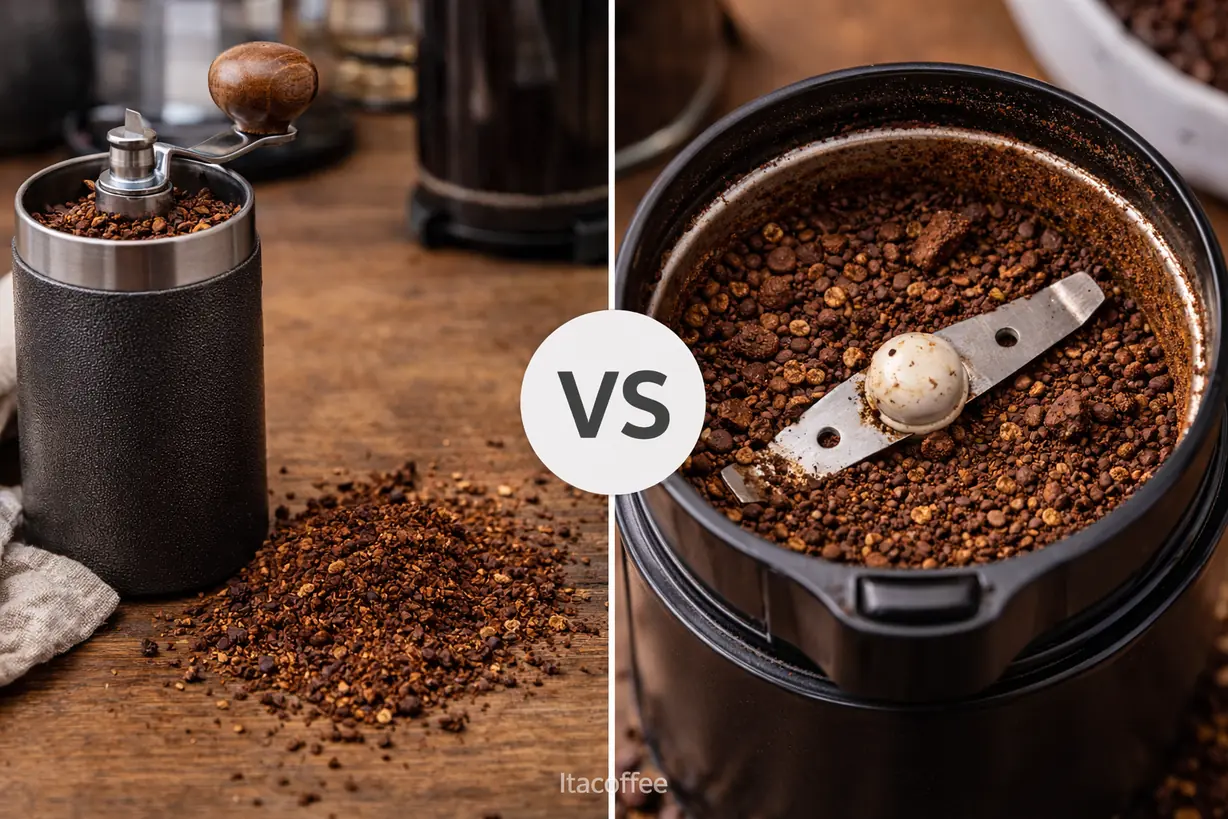
Grind Size
- Medium-fine (slightly finer than pour over)
Grind consistency matters more than most people expect—especially with immersion brewing.
Fresh grinding makes a measurable difference; see Pre-Ground vs Fresh Ground Coffee.
Too fine → muddy, bitter
Too coarse → thin, under-extracted
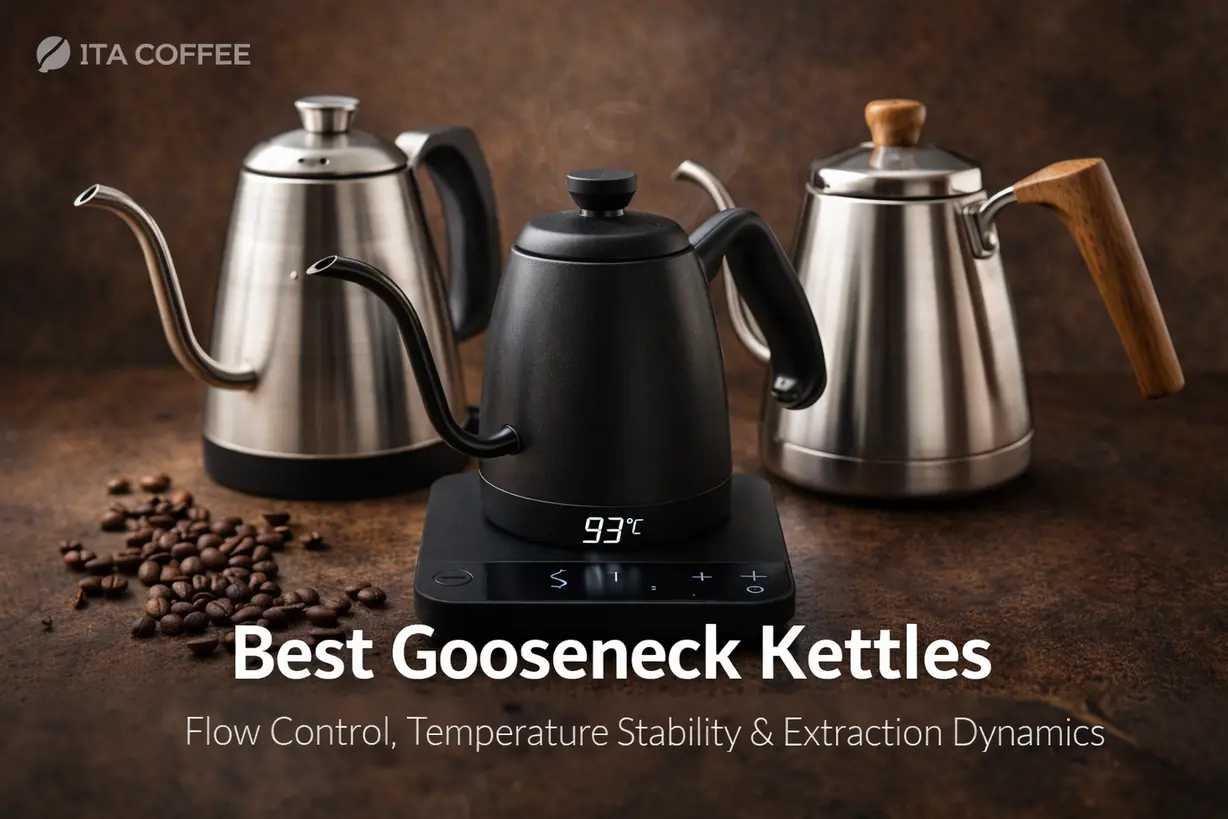
Water Temperature
- 85–95°C (185–203°F)
Lower temperatures emphasize clarity; higher temperatures increase extraction.
Step-by-Step: Classic AeroPress Method
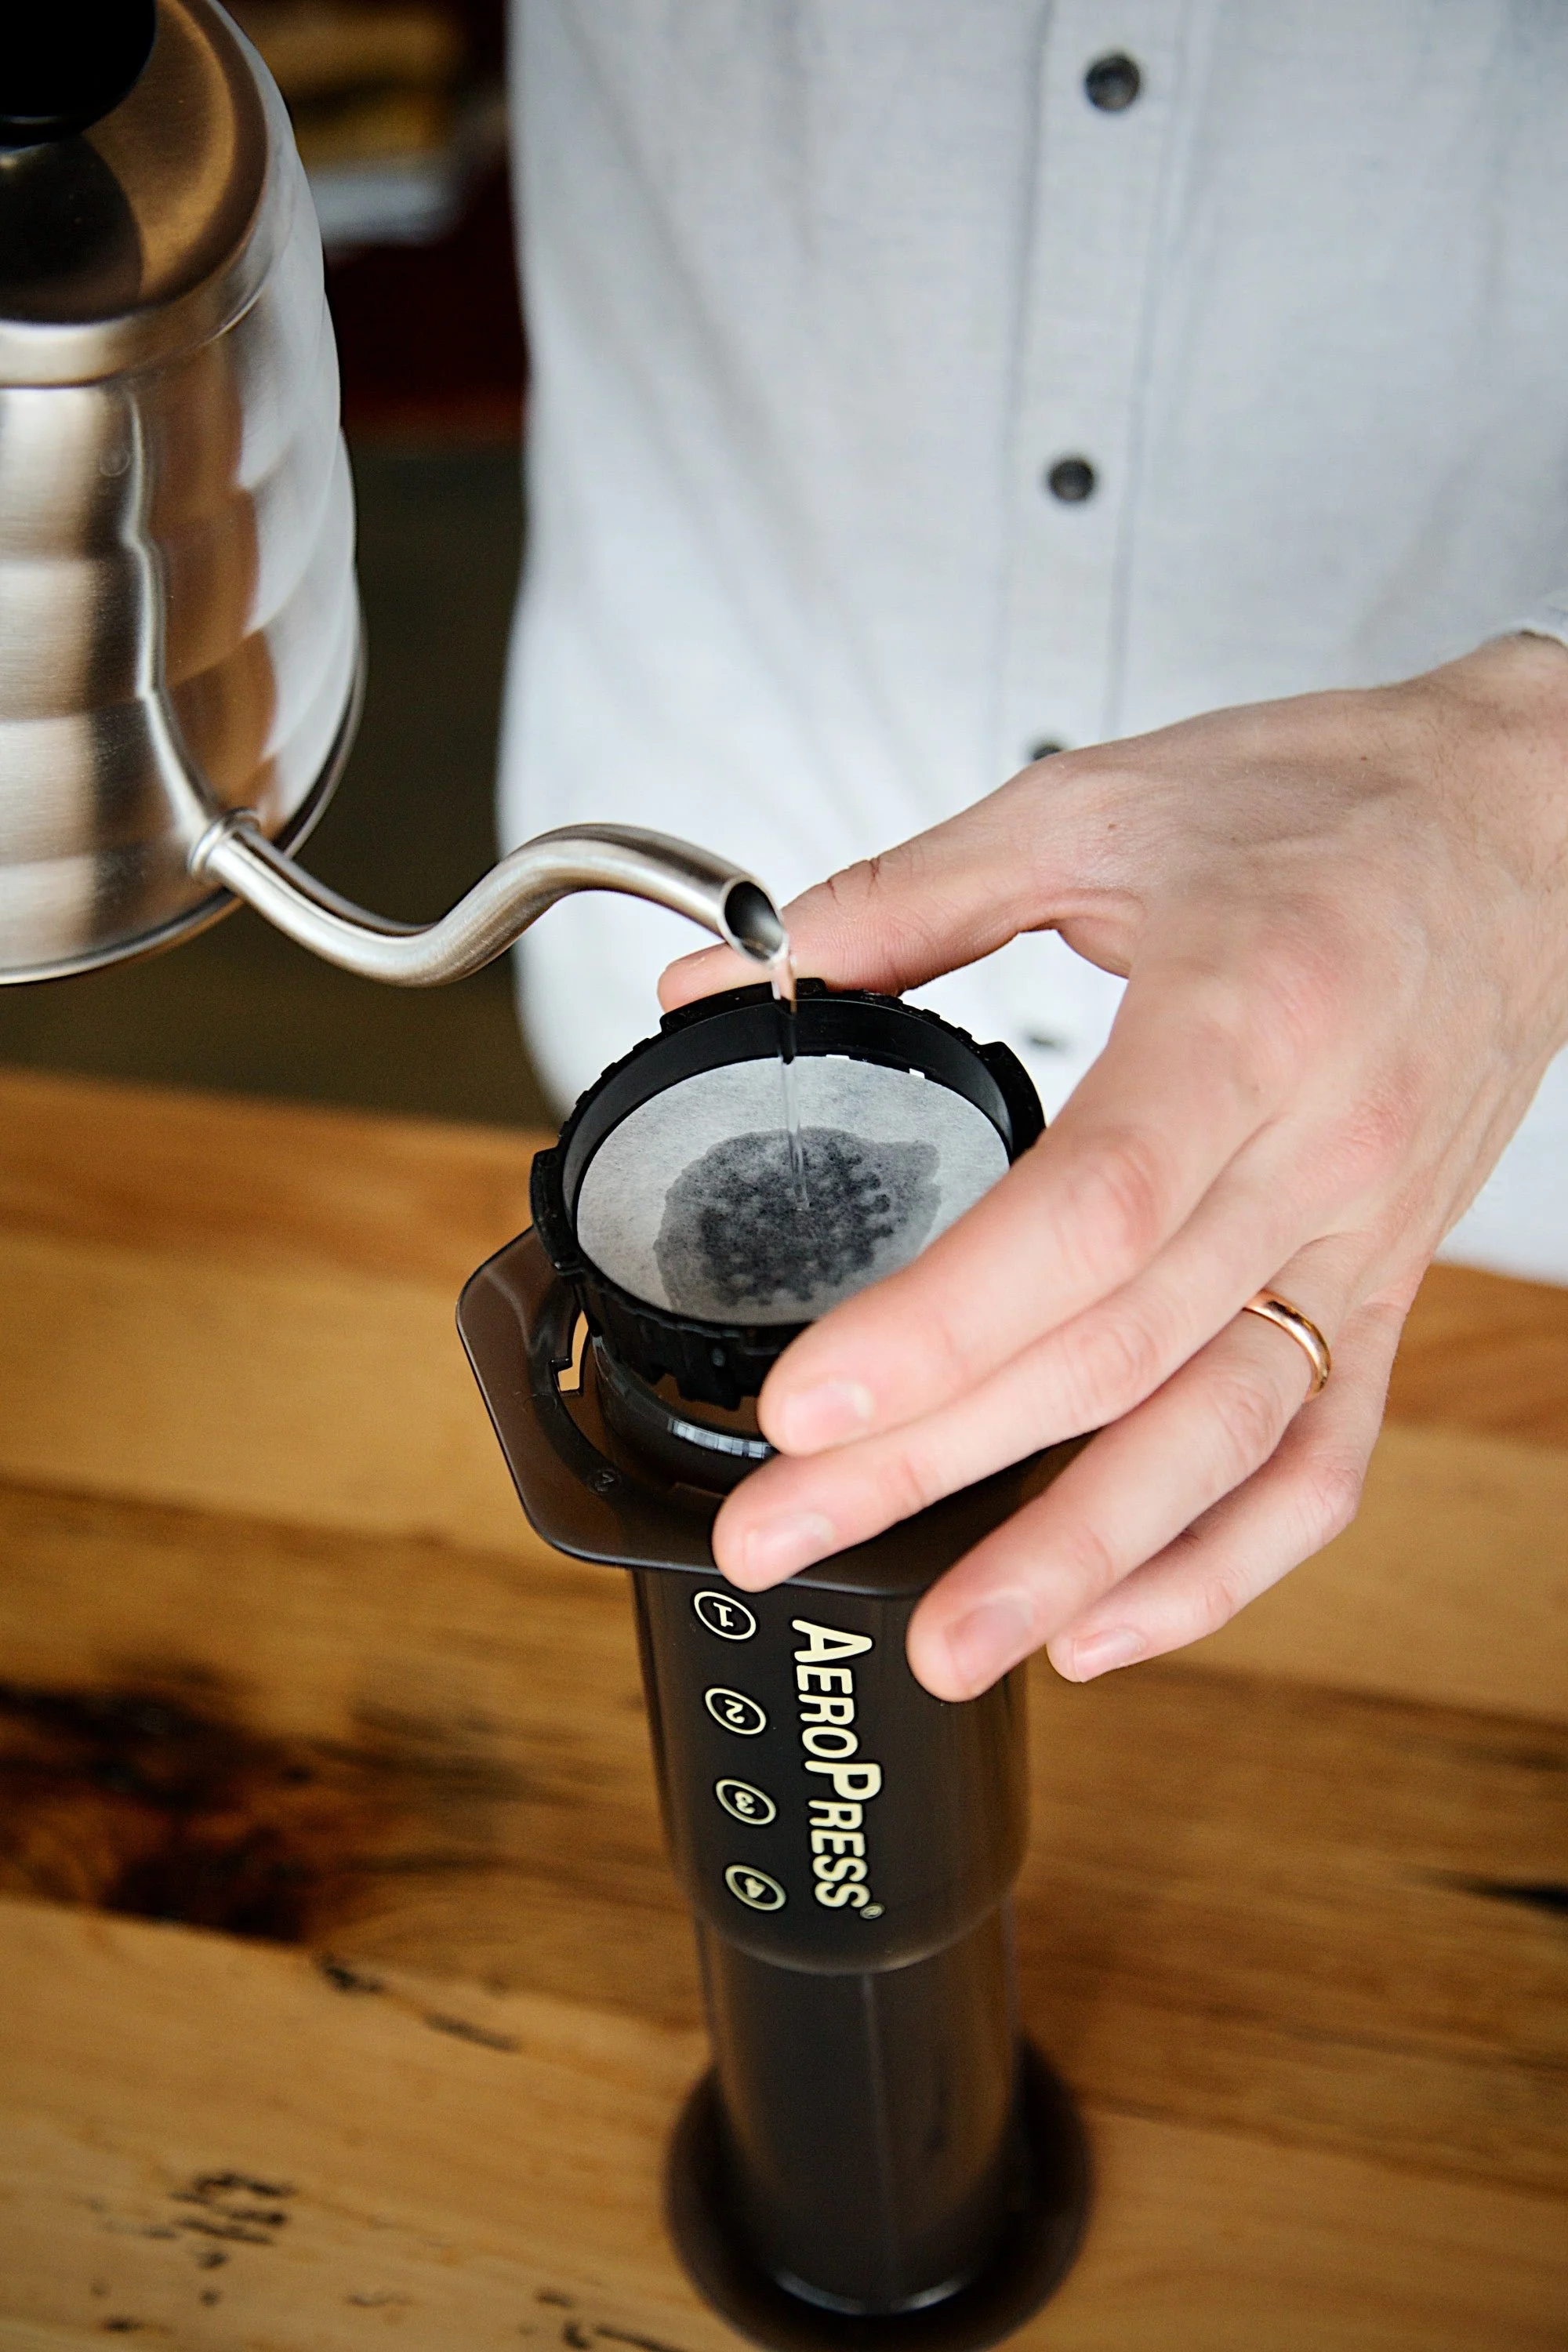
Step 1: Prepare and Rinse
- Insert paper filter into the cap
- Rinse with hot water
- Assemble AeroPress on your cup
This removes paper taste and stabilizes temperature.
Step 2: Add Coffee
- Add 18 g freshly ground coffee
- Level the bed gently
Even contact = even extraction.
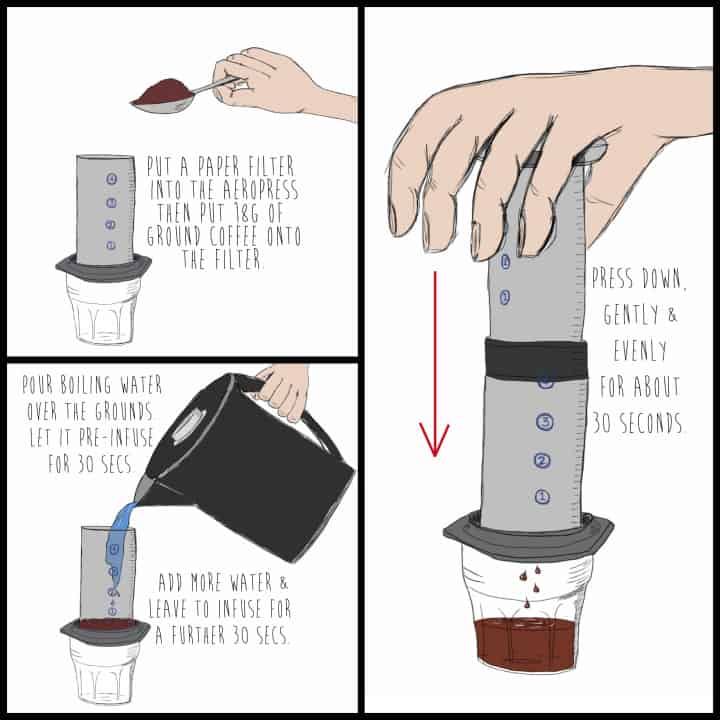
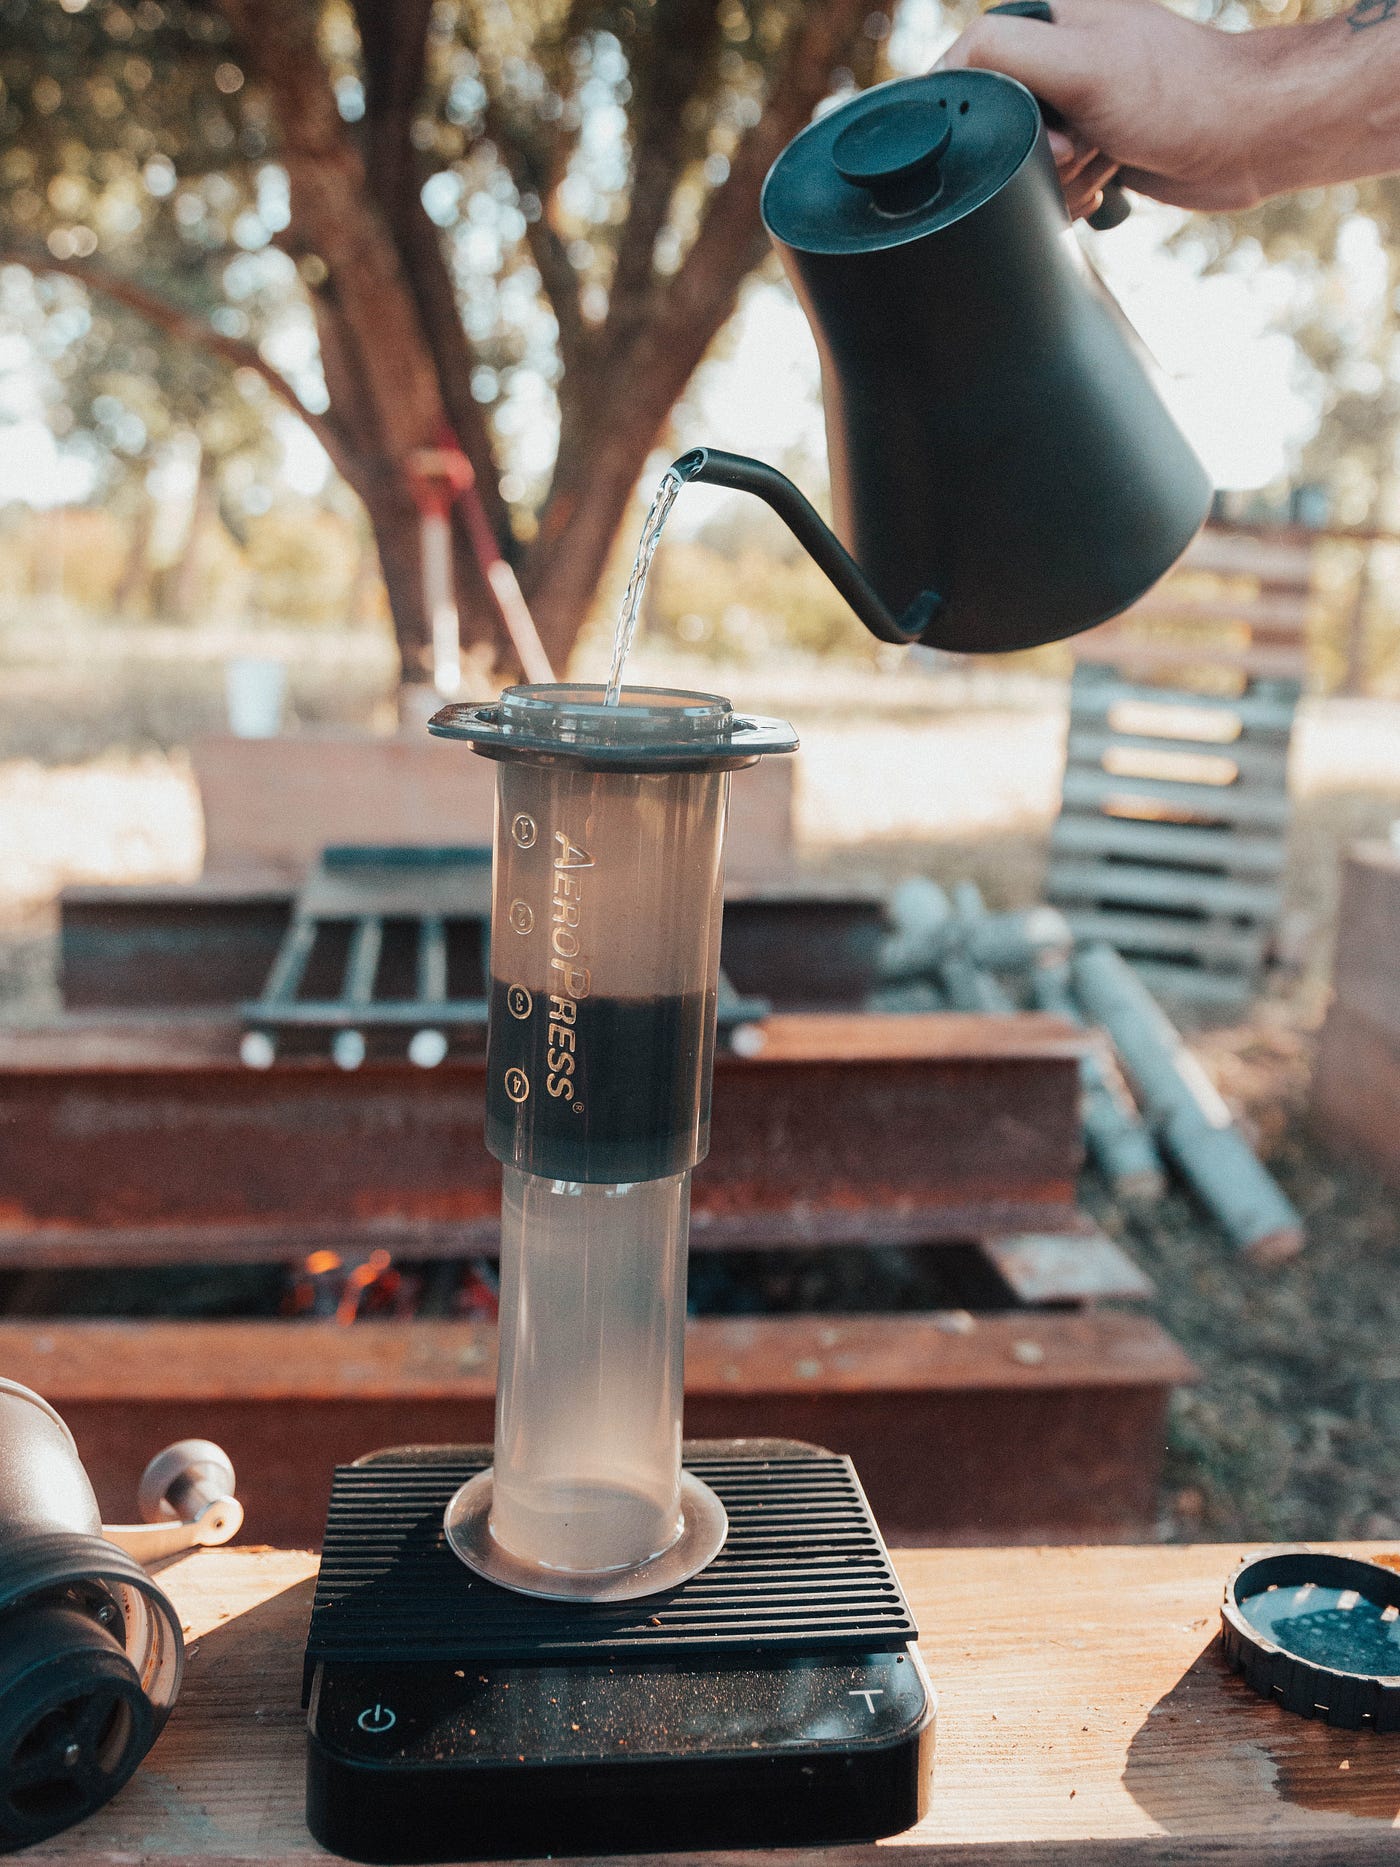
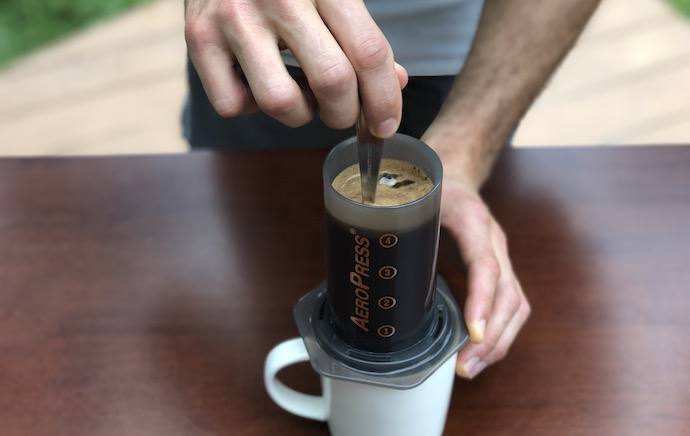
Step 3: Add Water and Stir
- Start timer
- Pour 220–250 ml water
- Stir gently for 5–10 seconds
This is an immersion brew, not a pour over.
Immersion brewing also shares structural similarities with cold brew, though extraction time is much shorter.
Step 4: Steep
- Steep for 1:30–2:00
- Place the plunger on top to reduce dripping
Steep time controls strength more than pressure.
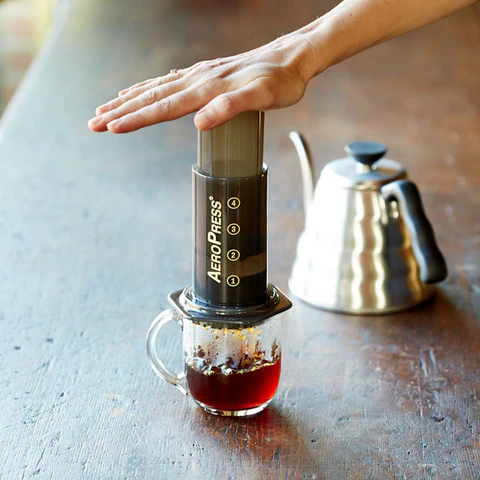
Step 5: Press
- Press slowly and evenly
- Total press time: 20–30 seconds
- Stop when you hear a hiss
Pressure should feel steady—not forced.
Common AeroPress Problems (And Fixes)
| Issue | Likely Cause | Adjustment |
|---|---|---|
| Bitter | Too fine / too long | Coarsen grind or shorten steep |
| Weak | Too coarse | Grind finer or increase dose |
| Muddy | Over-agitation | Stir less |
| Sour | Under-extracted | Increase time or temperature |
If your AeroPress coffee tastes bitter or sour, the issue is almost always extraction rather than the brewer itself.
Before adjusting variables, it helps to understand why coffee tastes bitter or sour.
For a deeper look at why small changes in grind or time shift flavor, see coffee extraction explained.
Change one variable at a time.
AeroPress vs Other Manual Brewers
| Brewer | Method | Flavor Style |
|---|---|---|
| V60 | Percolation | Clean, expressive |
| AeroPress | Immersion + pressure | Balanced, flexible |
| Moka Pot | Steam pressure | Bold, heavy |
Want More Consistent AeroPress Results?
- Stable grind size
- Repeatable ratios
- Controlled steep time
If you’re comparing grinders, kettles, or filters, our Coffee Tools guide explains how different tool types affect brewing clarity and consistency.
If you enjoy clean black coffee with adjustable strength, an Americano sits closer to espresso-based brewing.
Final Thoughts from itacoffee
AeroPress is not about tricks or championship recipes.
It’s about understanding immersion and control.
At itacoffee, we believe brewing confidence comes from clarity, not complexity.
Learn the structure once, and AeroPress becomes one of the most reliable tools you own.
For a broader overview of all available methods, visit Brewing Guides.
— itacoffee | Brewing Guides for thoughtful coffee makers
This article was written and optimized with the assistance of AI, then reviewed and refined to maintain a clear, educational, non-commercial tone.